
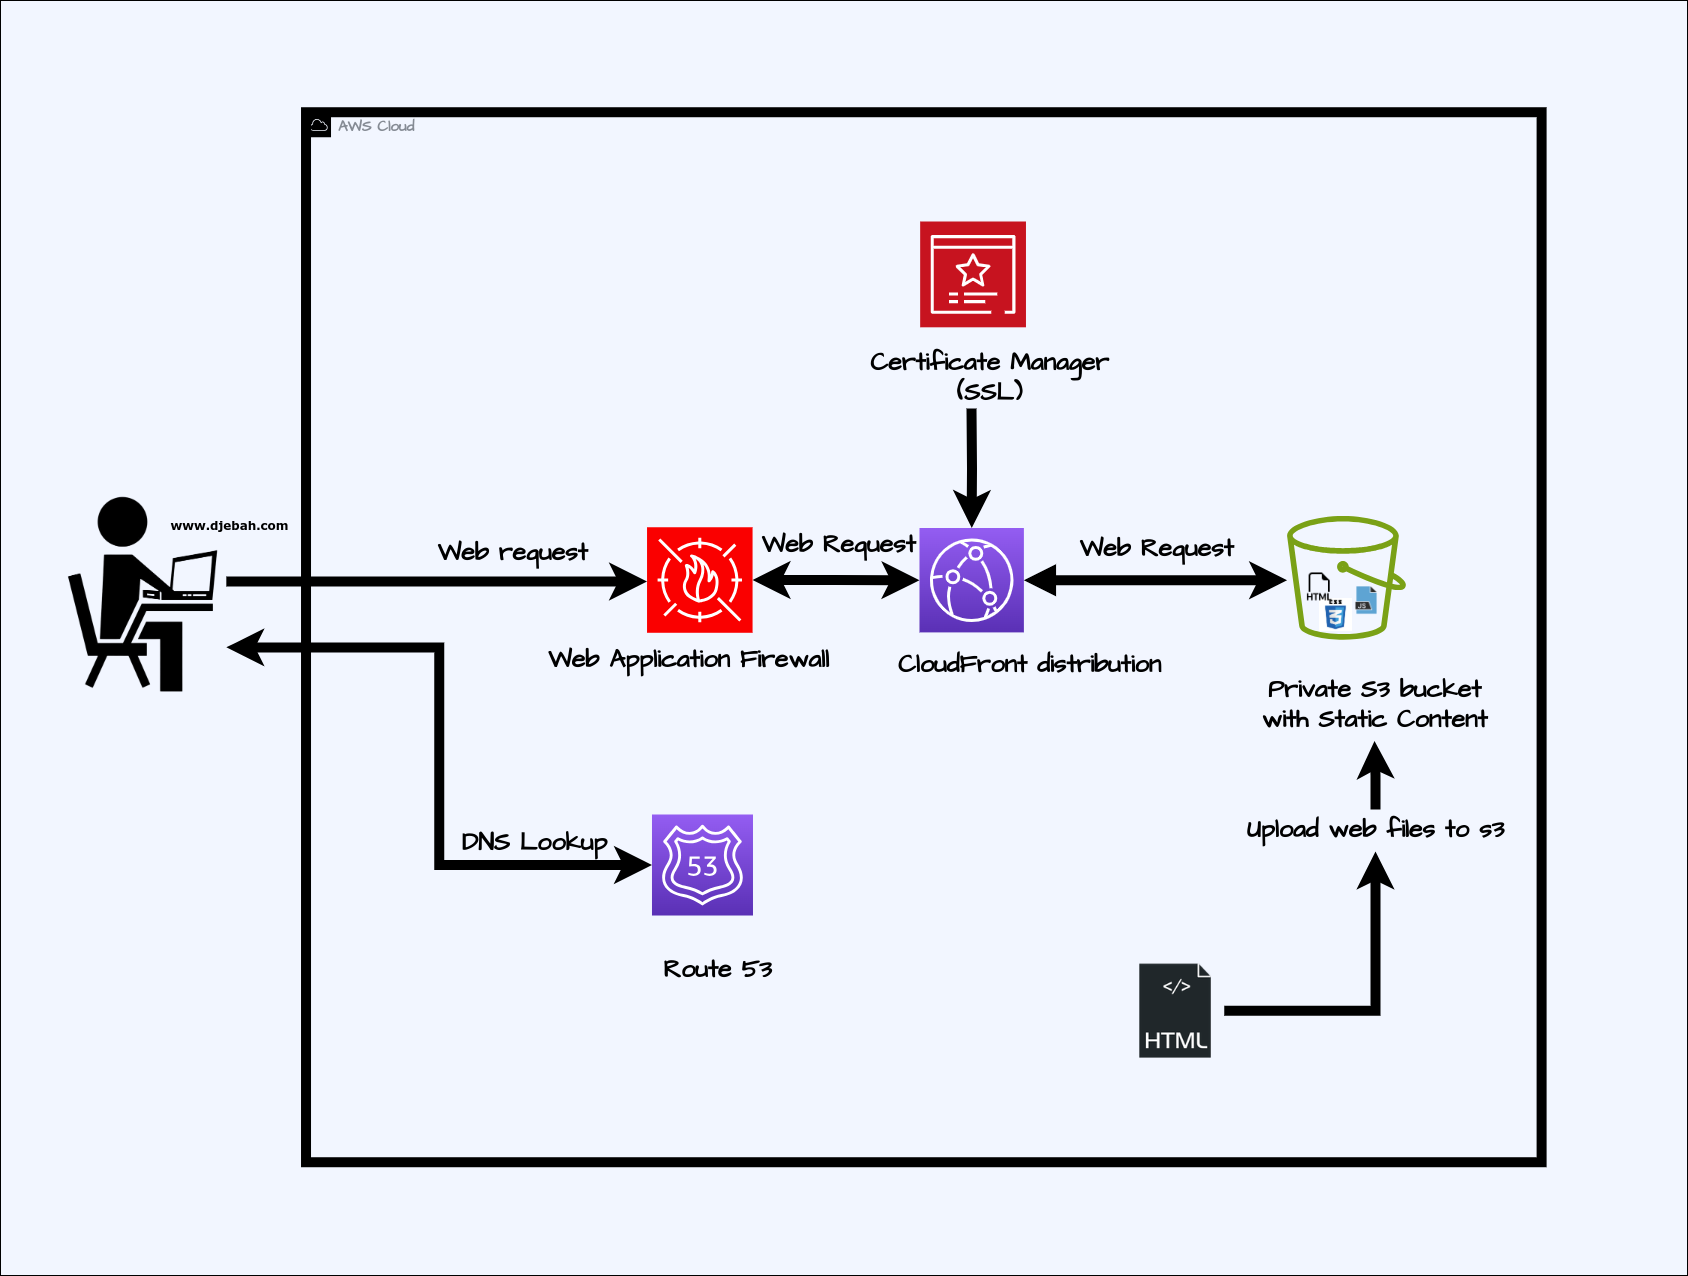
In this guide, we will walk through hosting a static website on AWS using five major services:
- AWS Route 53: For domain setup and management.
- AWS Certificate Manager: To secure your domain with SSL/TLS certificates.
- AWS S3 Bucket: For hosting static website files.
- AWS CloudFront: To serve the content securely and improve performance with CDN.
- AWS WAF: For adding a layer of security with a web application firewall.
Prerequisites
Before proceeding, ensure the following:
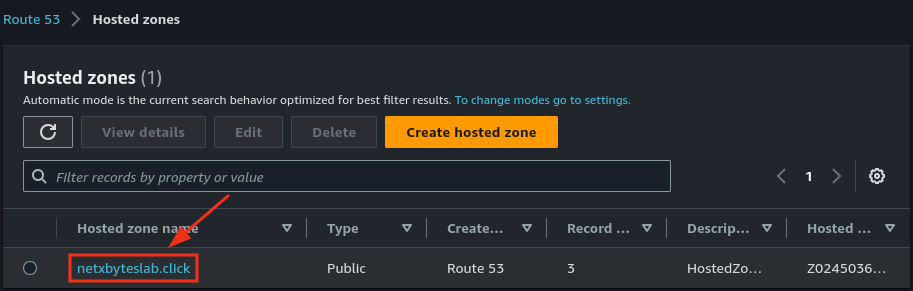
- You have a domain name transferred or added to Route 53 with a hosted zone already created.
- Basic familiarity with AWS services and the AWS Management Console.
Architecture Overview
Here’s a high-level network map of the setup:
Step 1: Configure AWS Certificate Manager (ACM)
To use CloudFront with SSL/TLS, you must create your certificate in the US East (N. Virginia) region.
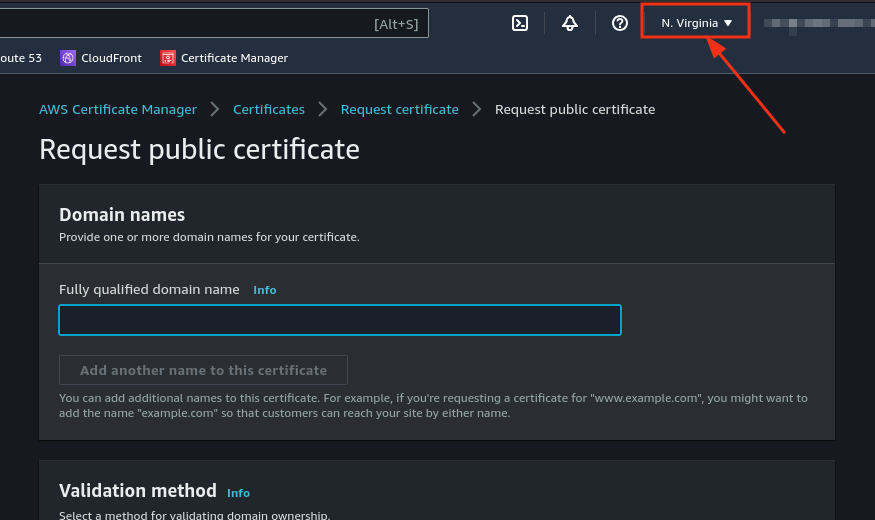
- Navigate to the Certificate Manager service.
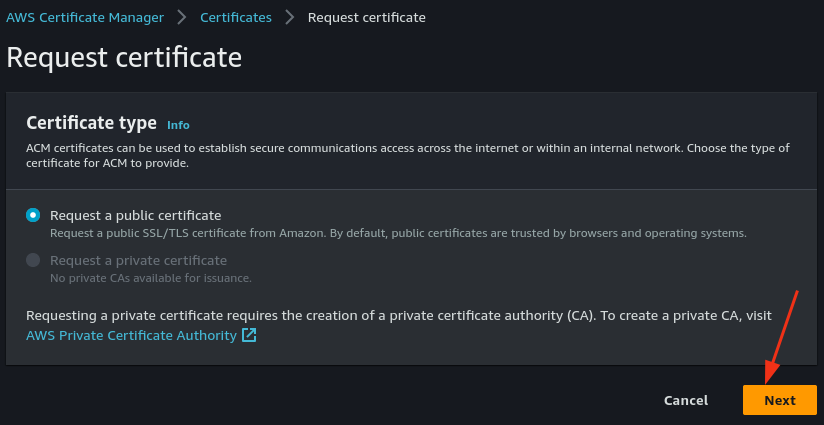
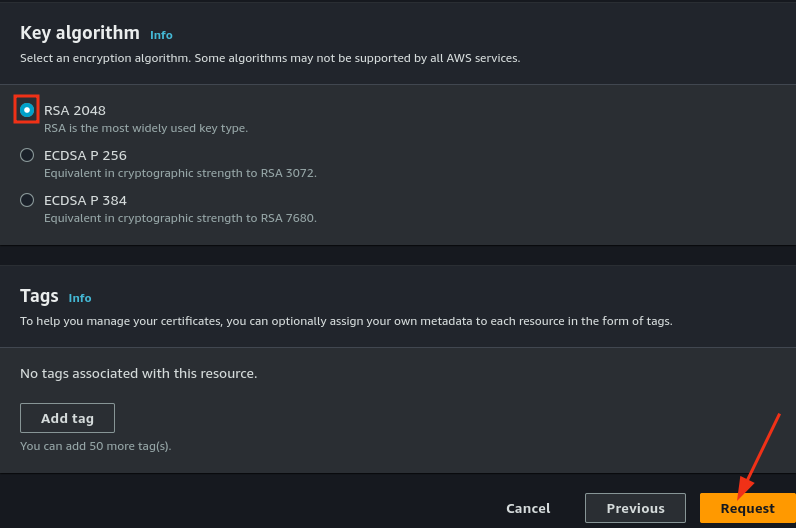
Request a Certificate
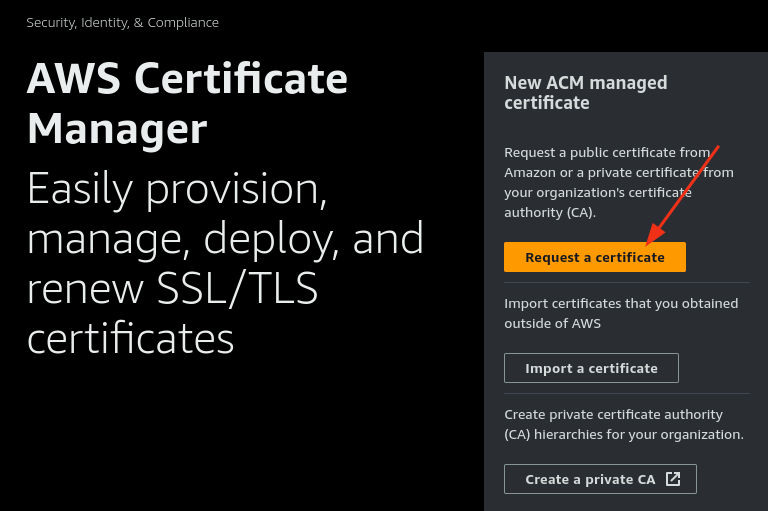
- Click Request a Certificate.
- Enter your domain name. Optionally, use a wildcard if you plan to use multiple subdomains (e.g.,
*.yourdomain.com).

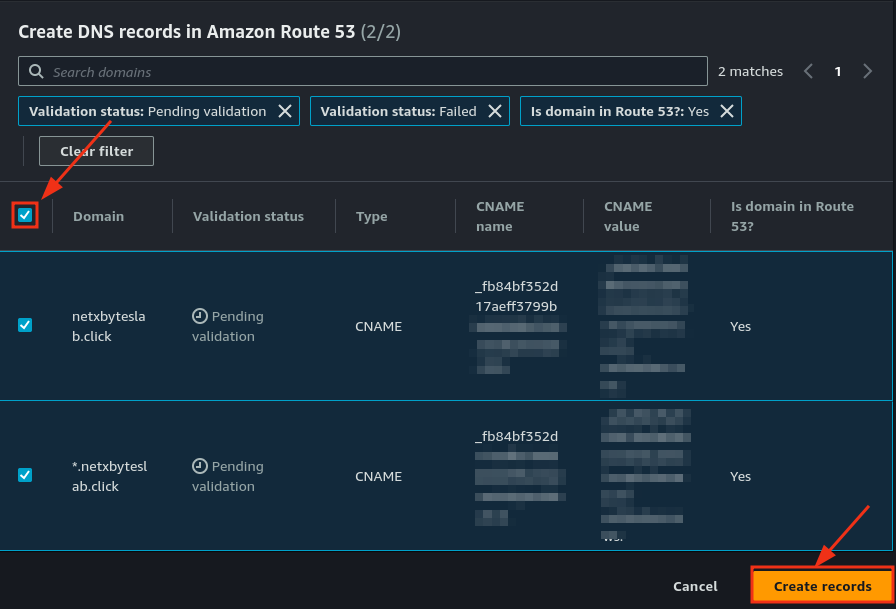
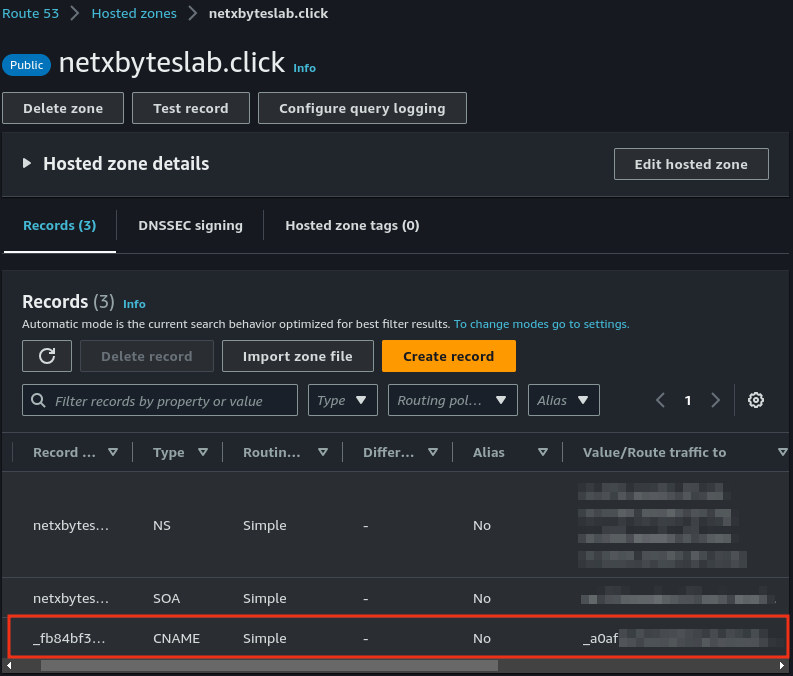
- Validate the certificate by creating a CNAME record in Route 53. Scroll down to the Domain Validation section, click on the certificate, and add the CNAME record as directed.
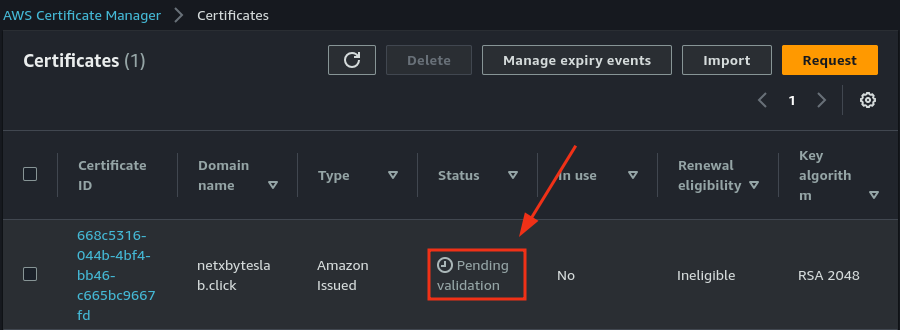
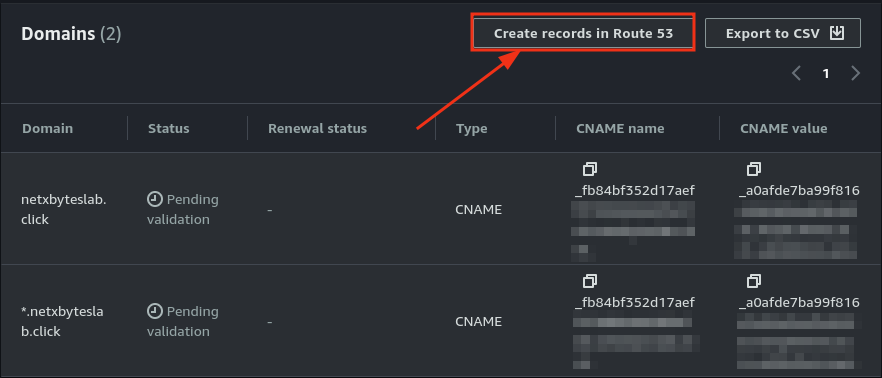
- Check Route 53 to verify the record was created successfully.

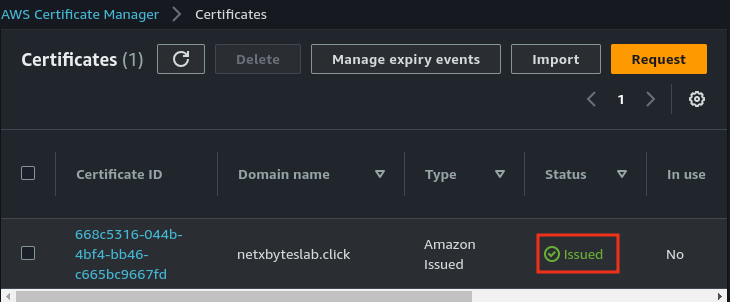
- Once validated, the certificate status in Certificate Manager should show Issued.
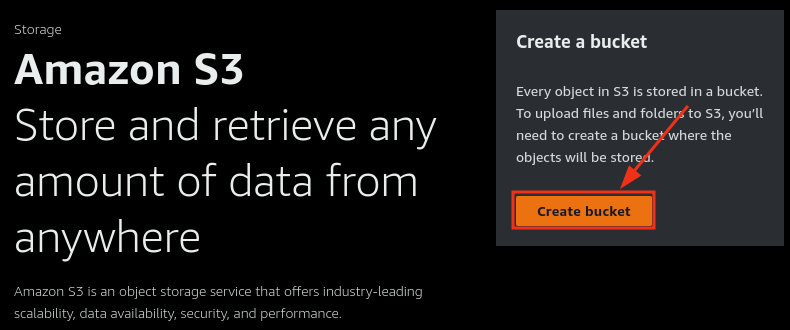
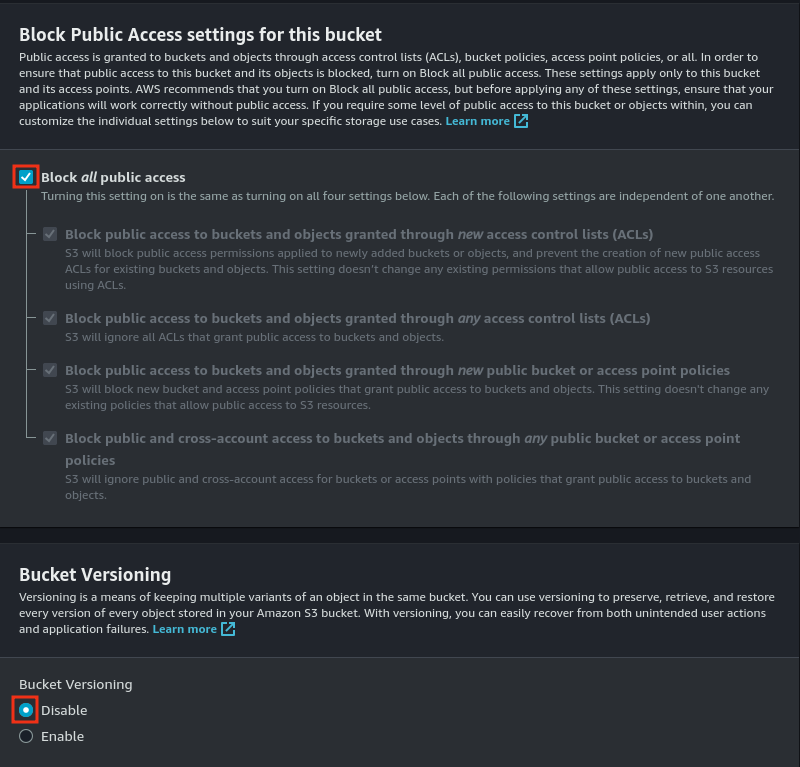
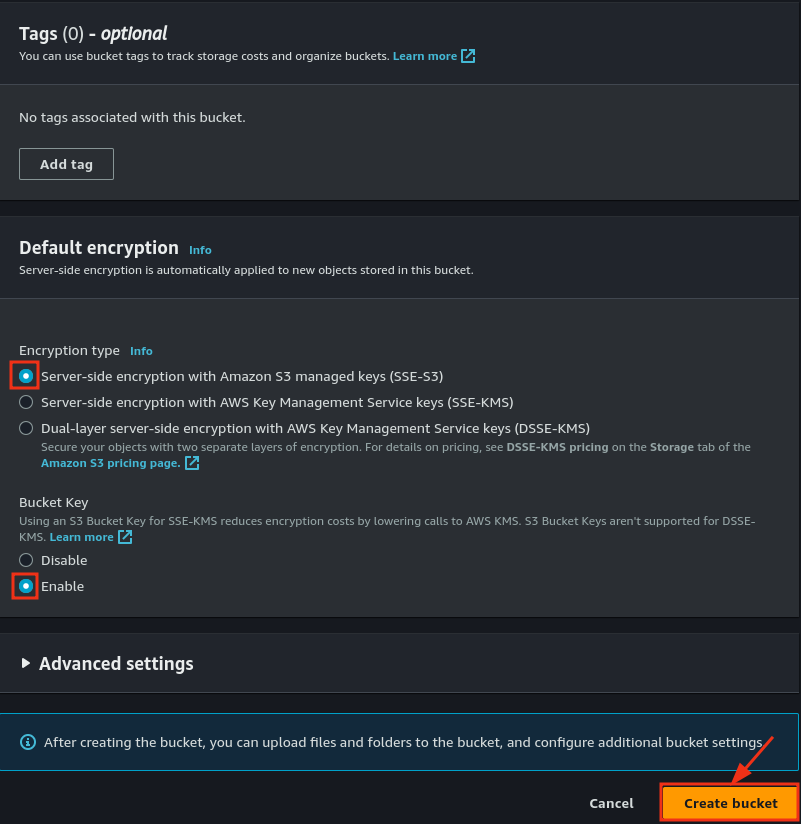
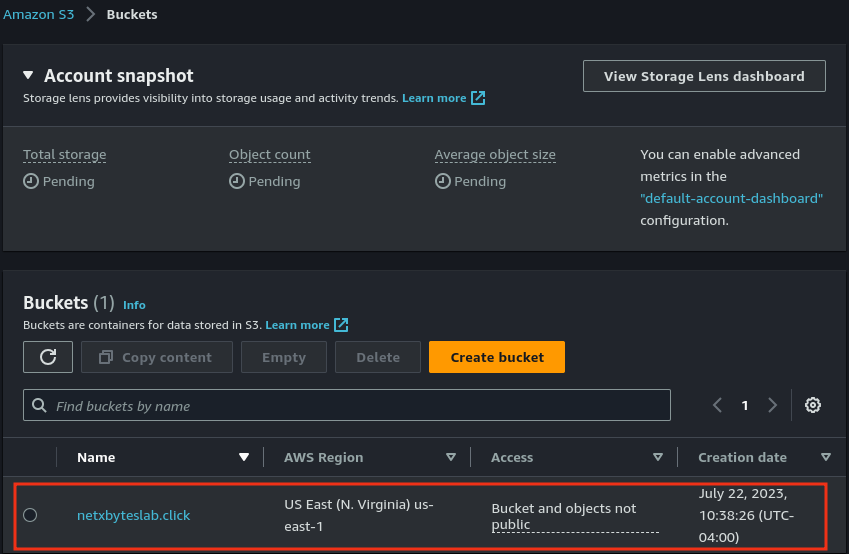
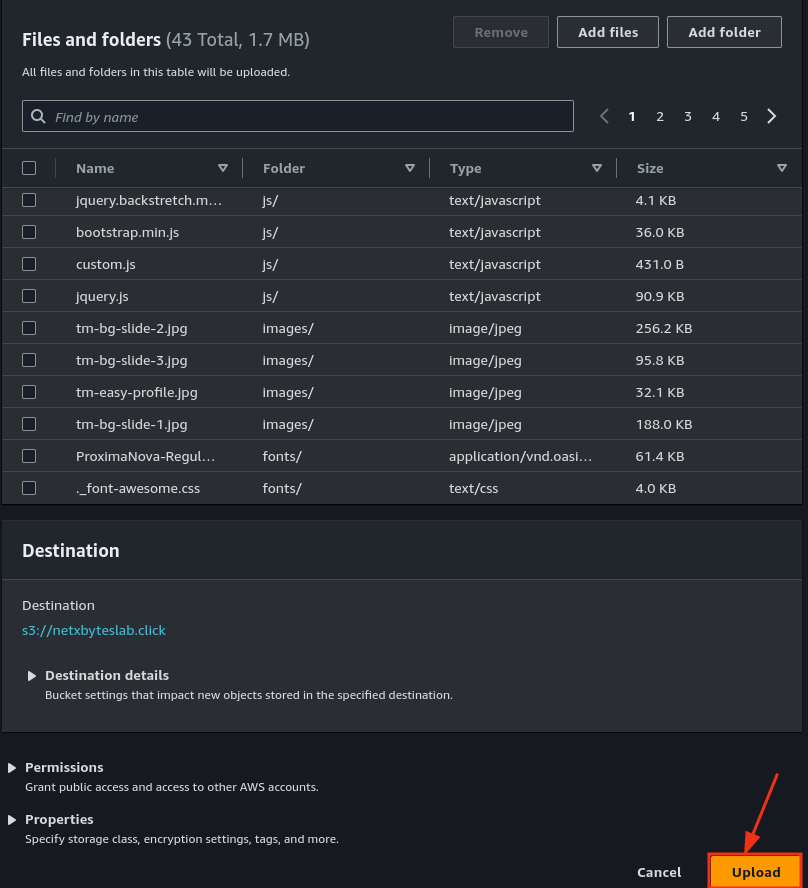
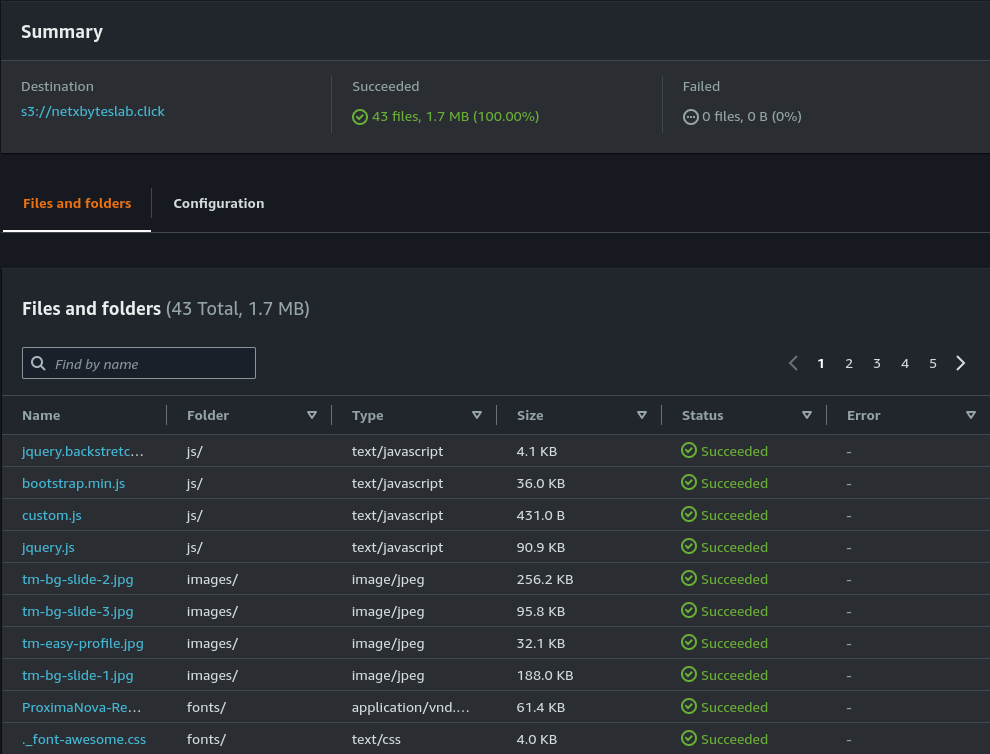
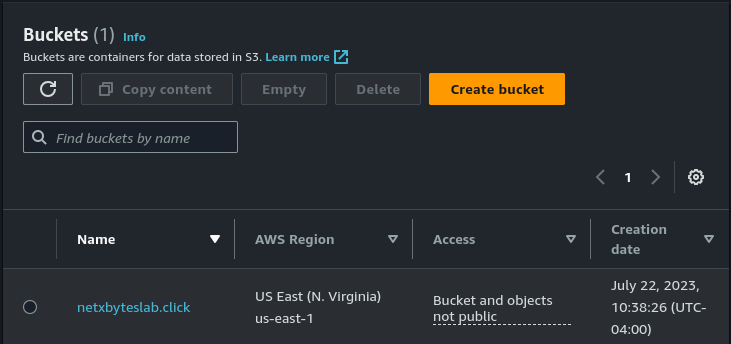
Step 2: Create an S3 Bucket for Static Website Hosting
- Navigate to S3 and create a bucket named after your domain (e.g.,
yourdomain.com).
- Upload your static website files to the bucket.
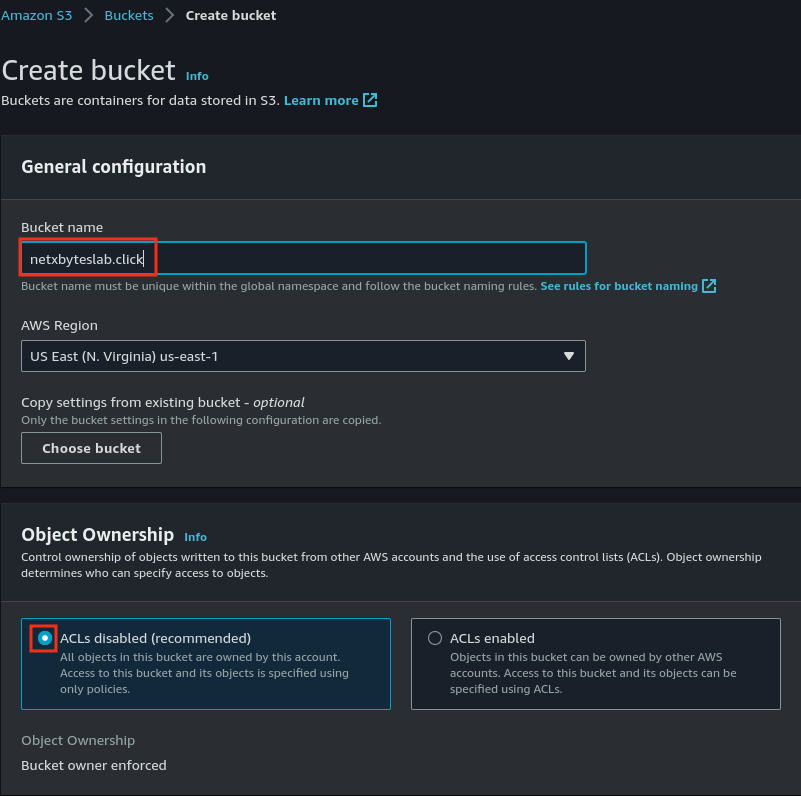
- Enable Static Website Hosting in the bucket’s properties.
- Configure the bucket policy to restrict direct access and allow only CloudFront to fetch content.
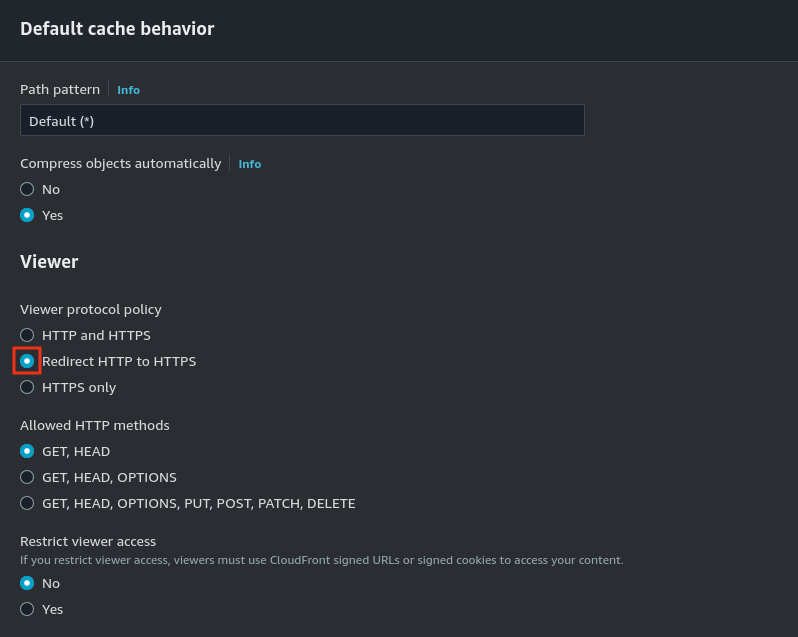
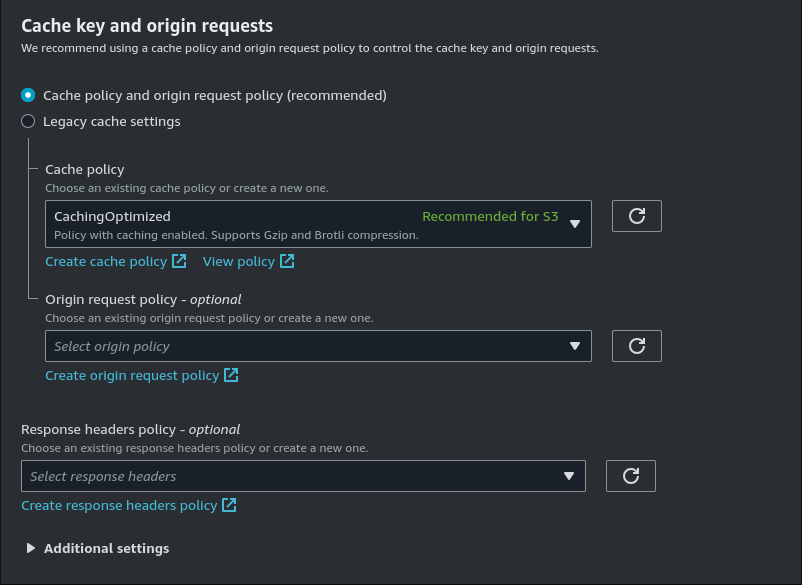
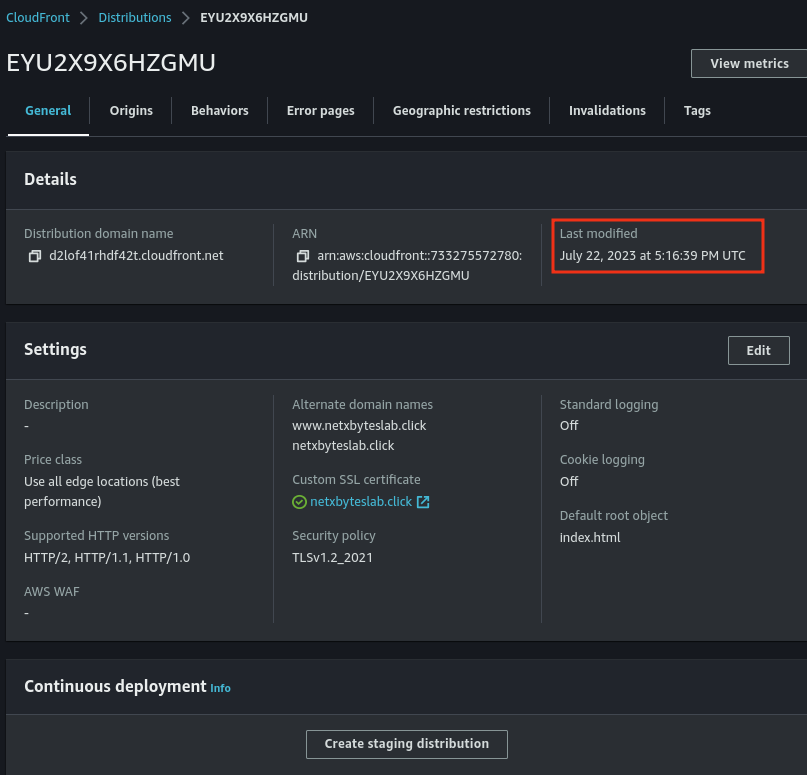
Step 3: Set Up CloudFront Distribution
- Navigate to CloudFront and create a new distribution.
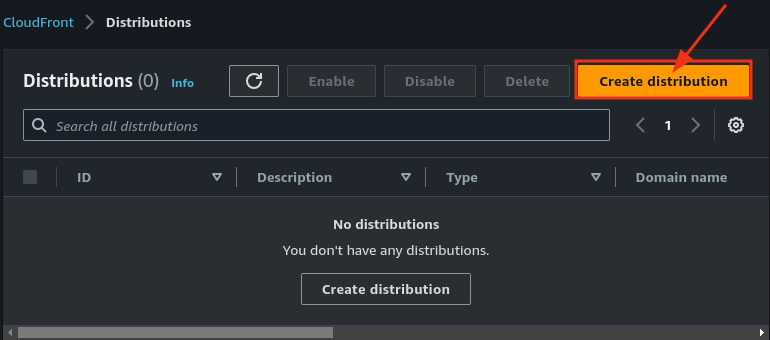
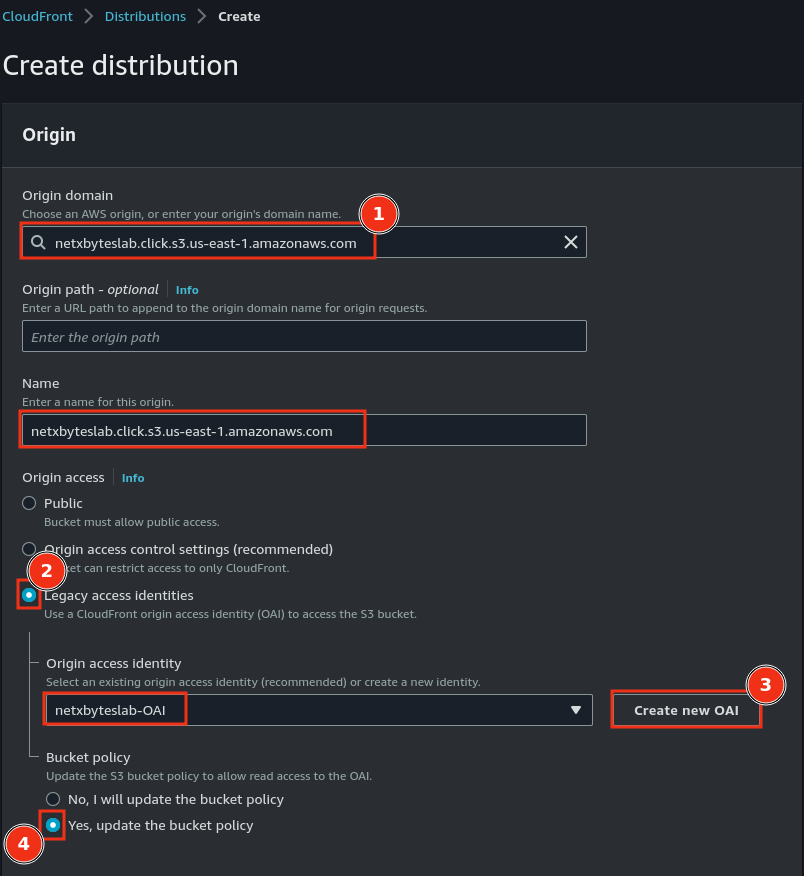
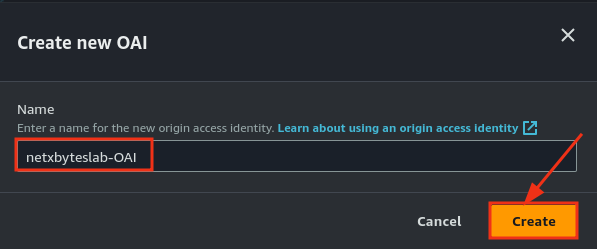
- Configure the origin to point to your S3 bucket.
- Set Viewer Protocol Policy to Redirect HTTP to HTTPS for secure access.
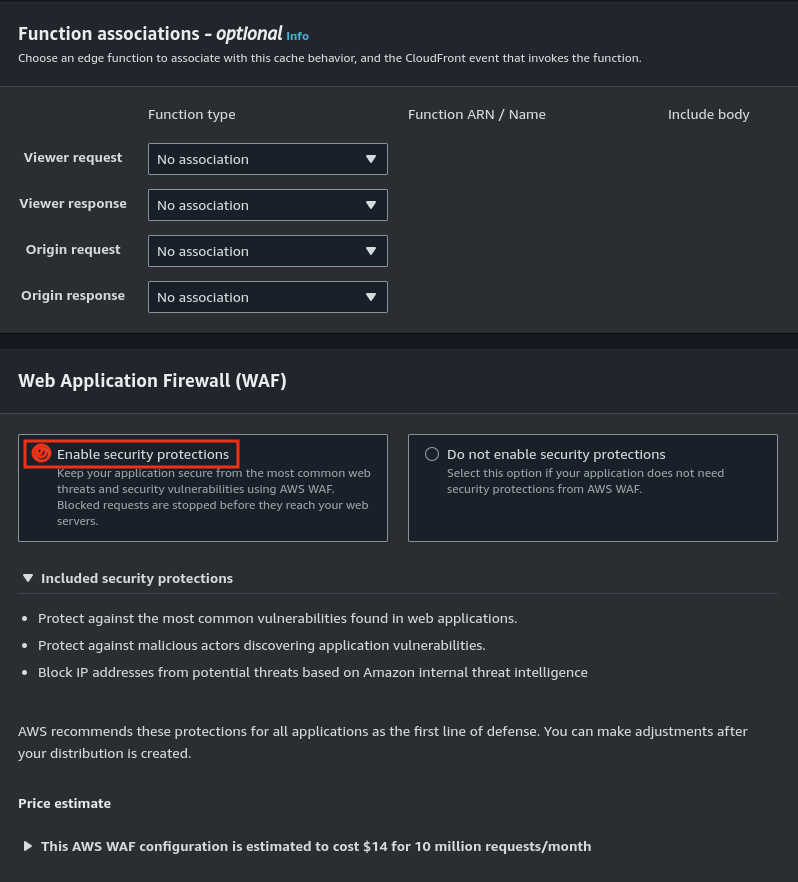
- Add a Web Application Firewall (WAF) to the CloudFront distribution for enhanced security.
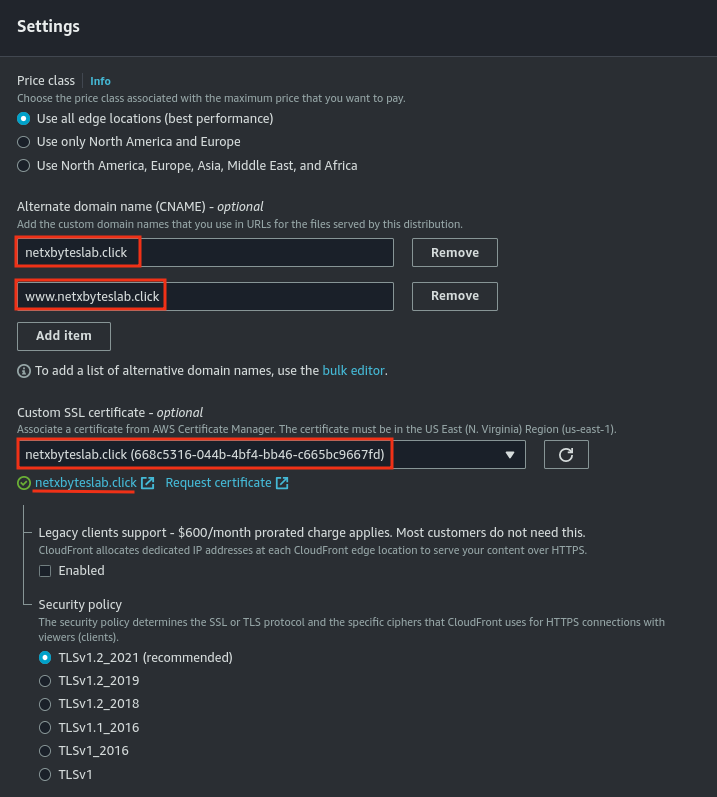
- Add an alternative name (CNAME) in CloudFront for your domain.
- Test the CloudFront distribution domain to ensure it serves your website correctly.
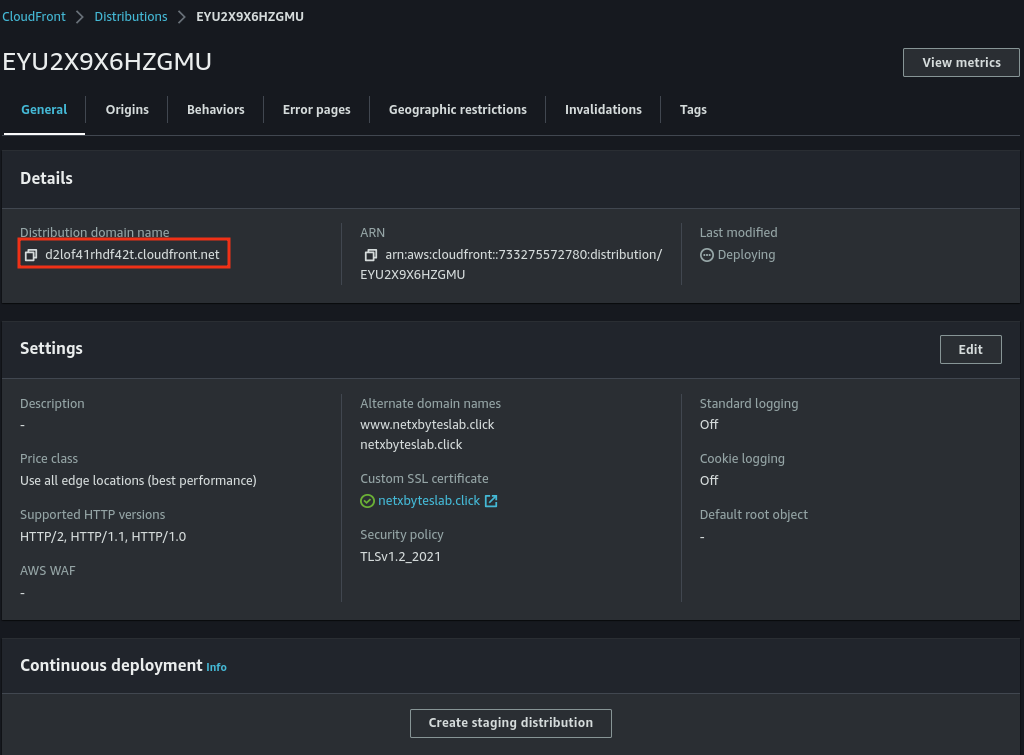
- Wait for CloudFront deployment to complete.
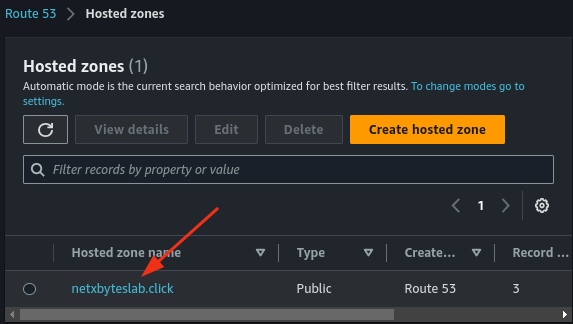
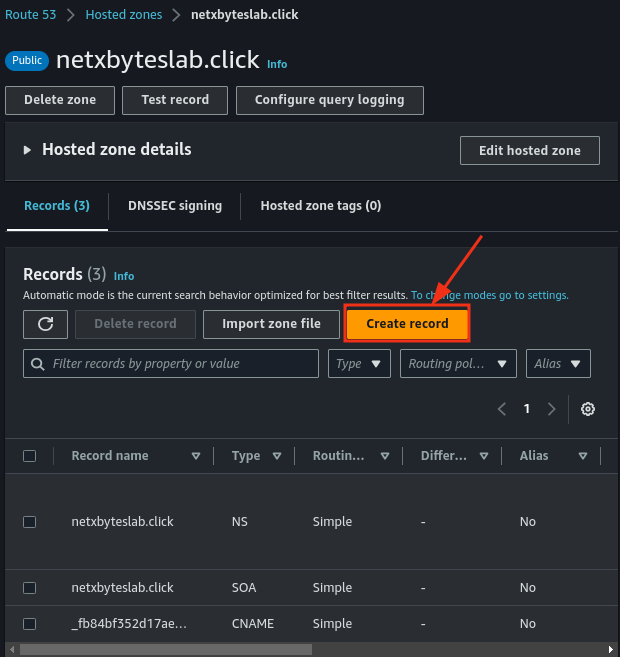
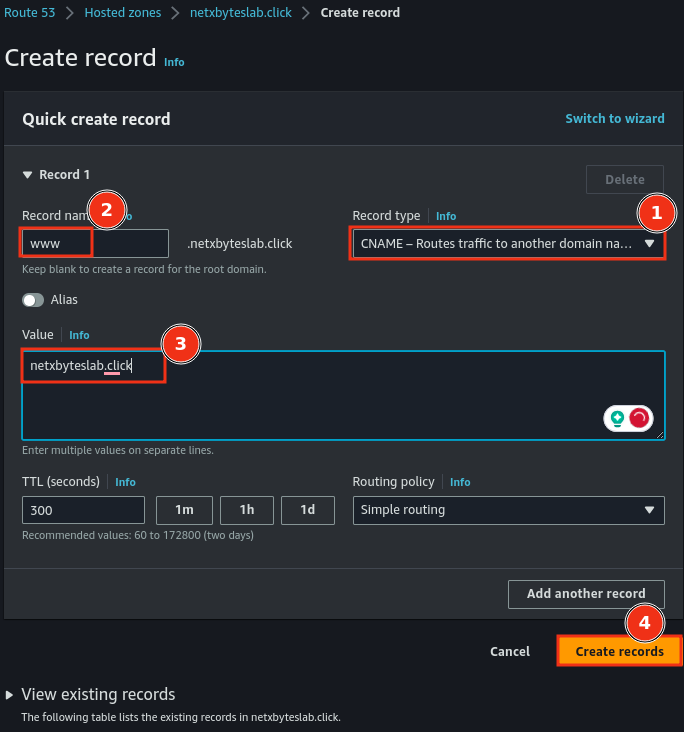
Step 4: Configure Route 53
- Navigate to your hosted zone in Route 53.
- Create an A (Alias) record pointing to your CloudFront distribution.
- Optionally, create a CNAME record for subdomain forwarding (e.g.,
www.yourdomain.com).
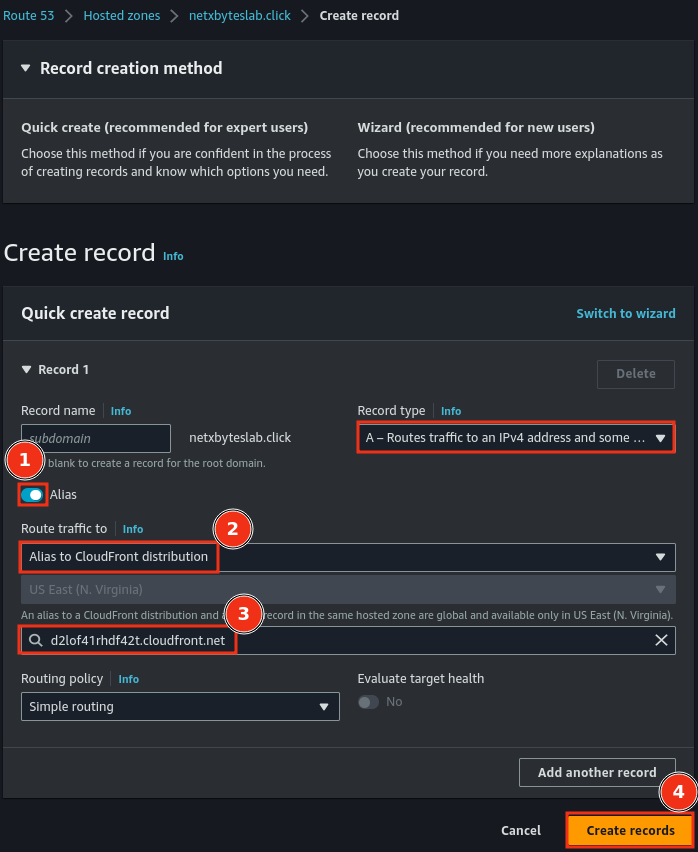
- The final configuration should resemble the setup below.

Key Findings
- No Public Access to S3 Bucket: CloudFront fetches content securely, preventing direct access via the S3 endpoint.
- Region-Specific Requirements: Certificates for CloudFront must be created in US East (N. Virginia).
- CloudFront and ACM Deployment Time: Deployment can take several minutes. Be patient!
- Policy Setup: Use CloudFront policies for added security instead of direct S3 bucket policies.
Observations & Tips
- Avoid Multiple Hosted Zones: Use a single hosted zone to simplify management.
- Caching Issues: If changes don’t reflect, clear your browser cache and restart.
- Domain Redirects: Domain and subdomain redirects typically start working within 10 minutes.
- Custom Security Policies: Use WAF for advanced security needs, such as blocking specific IPs or patterns.
This completes the second part of setting up an AWS static web application. With this setup, you now have a robust, scalable, and secure static website hosted on AWS!
Feel free to share your thoughts or ask questions in the comments below. Stay tuned for more guides!