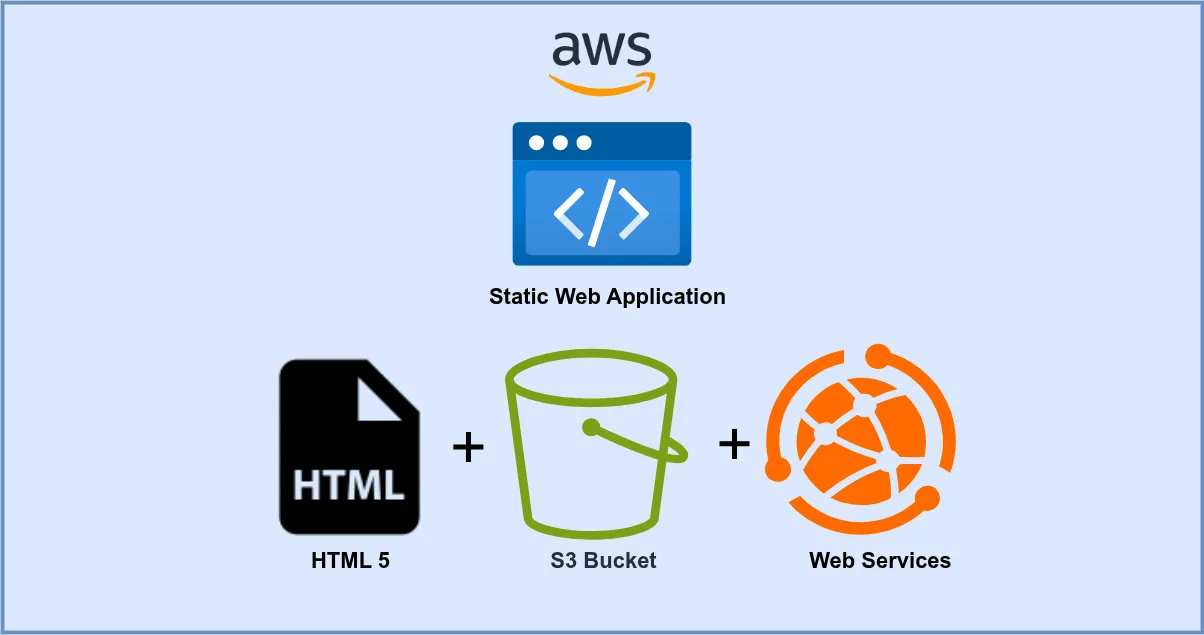
Host a static web application on AWS using S3. This guide covers best practices, security configurations, and performance optimization for hosting websites.
Overview:
–
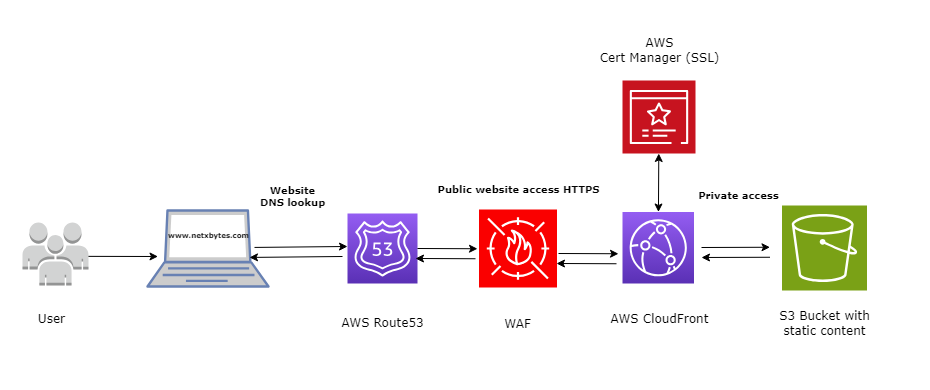
- AWS Route53: Buy/setup a domain name.
- AWS Certificate Manager: Assign SSL Certificate for the domain.
- AWS S3 Bucket: Create S3 bucket with static website.
- AWS CloudFront: Map CloudFront endpoint (S3-CF-Route53).
- AWS WAF Wab application firewall
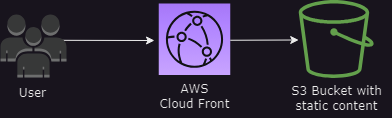
Architecture Diagram
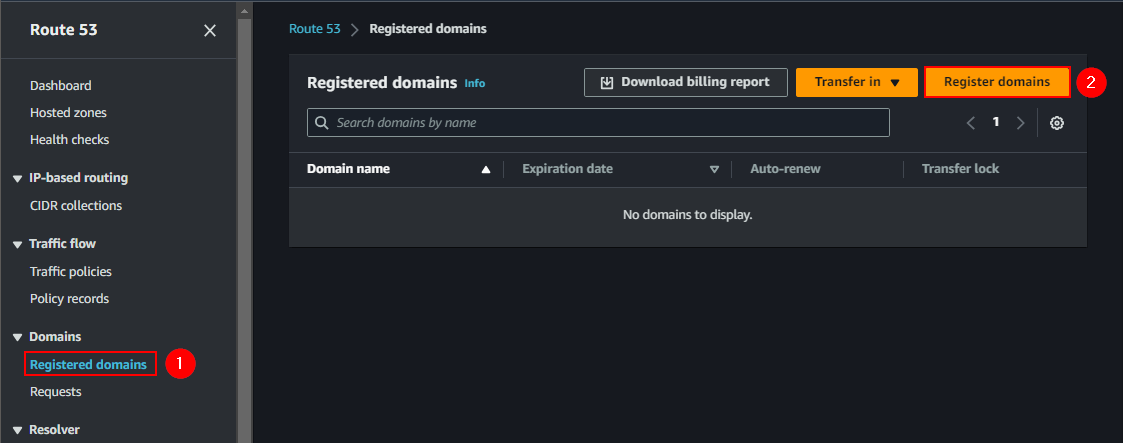
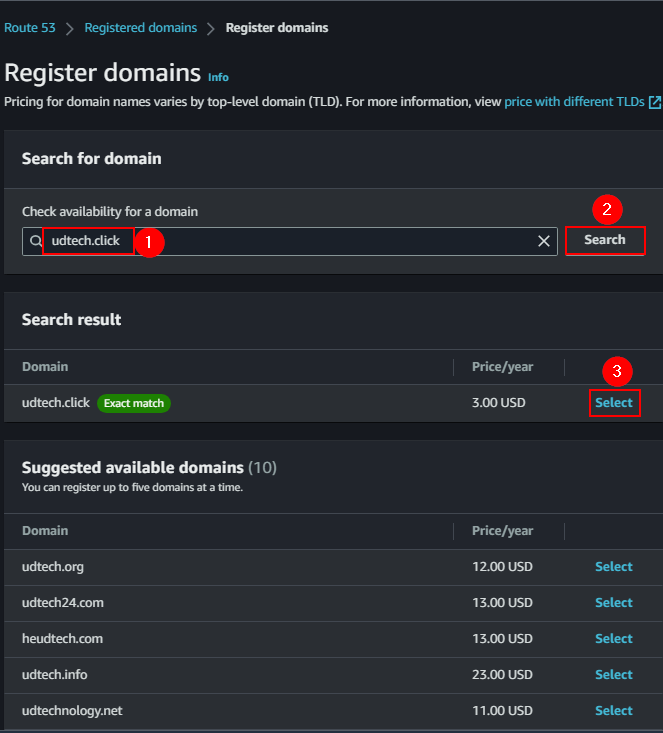
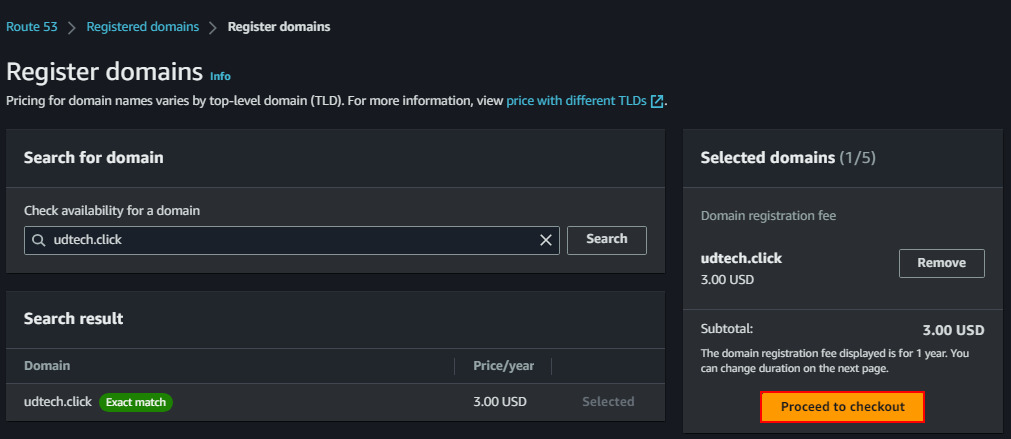
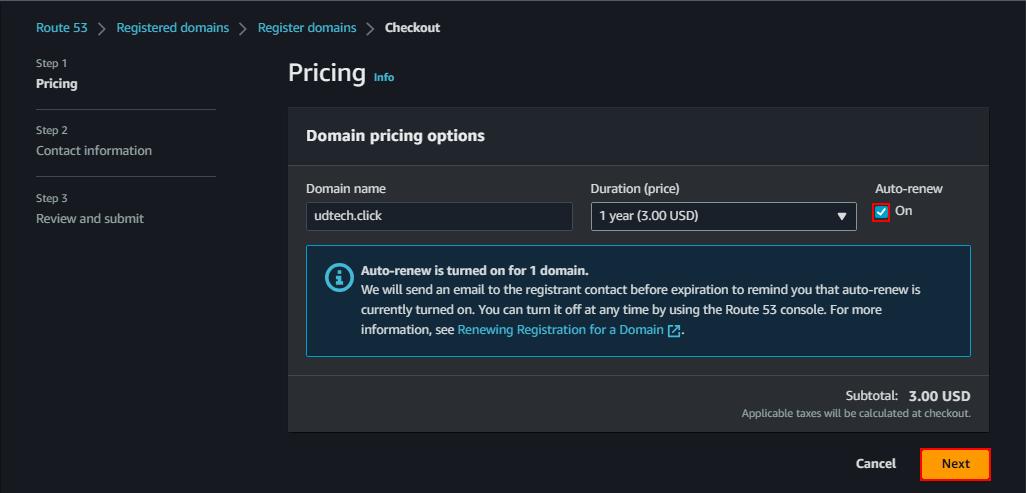
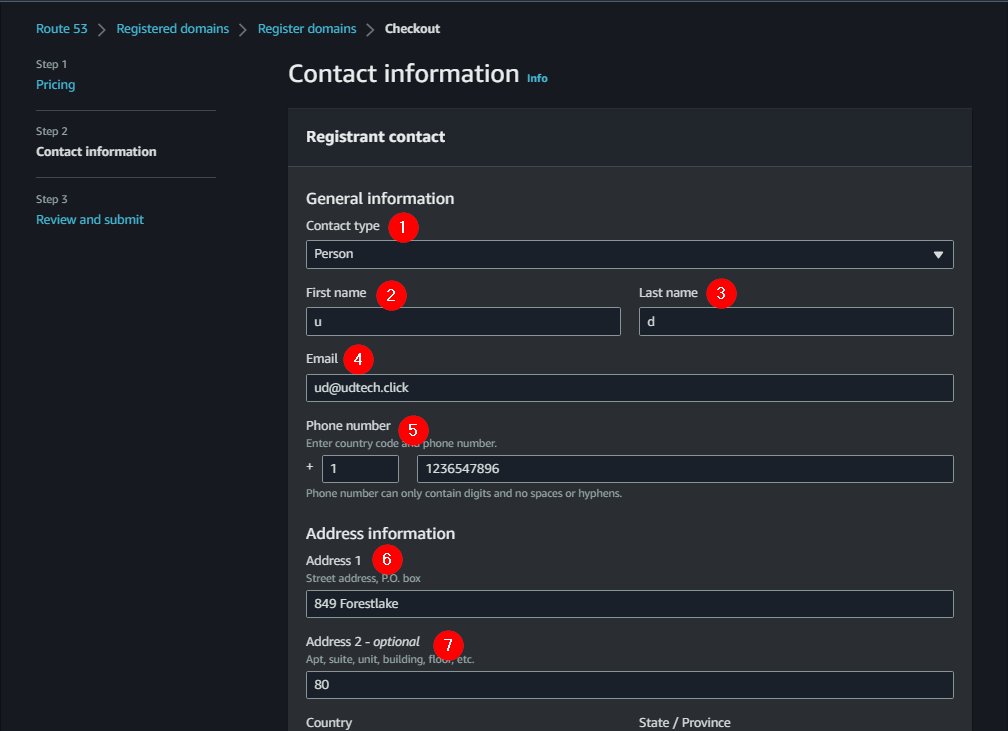
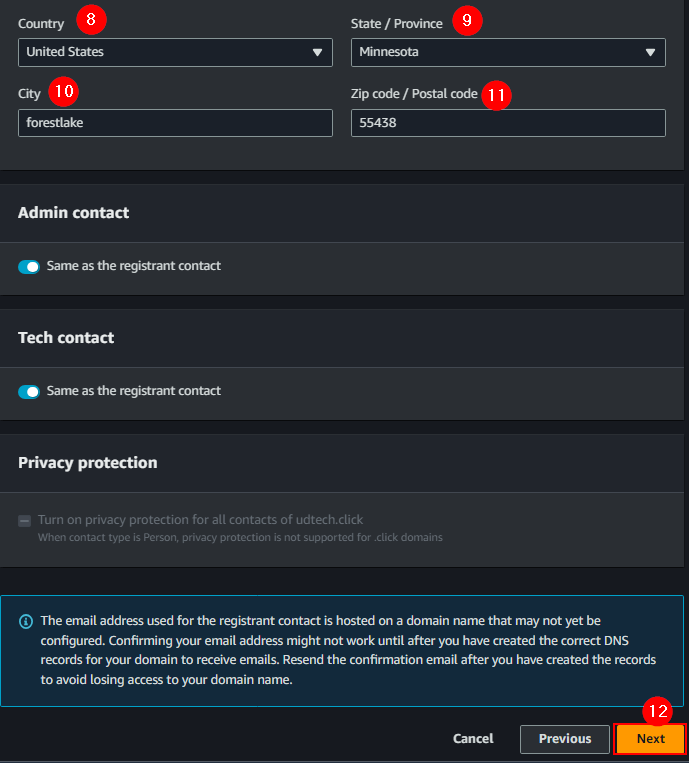
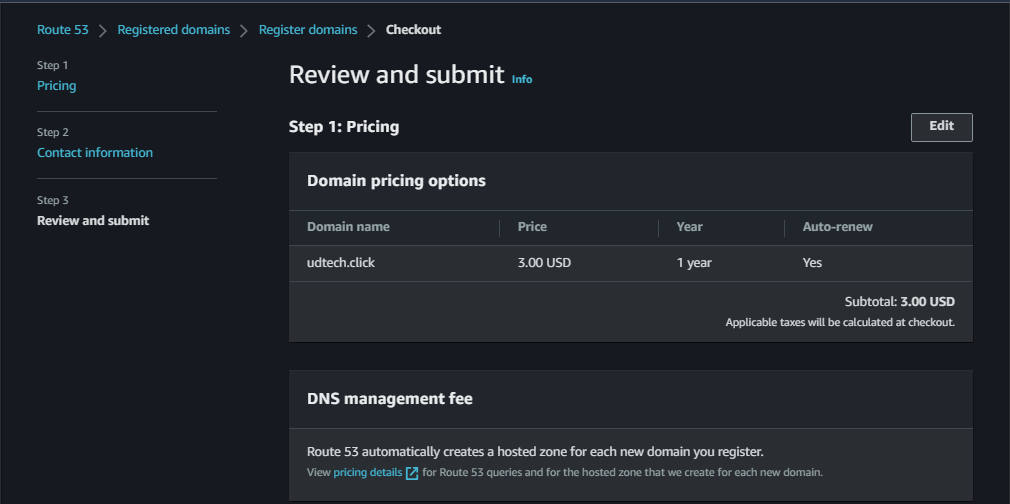
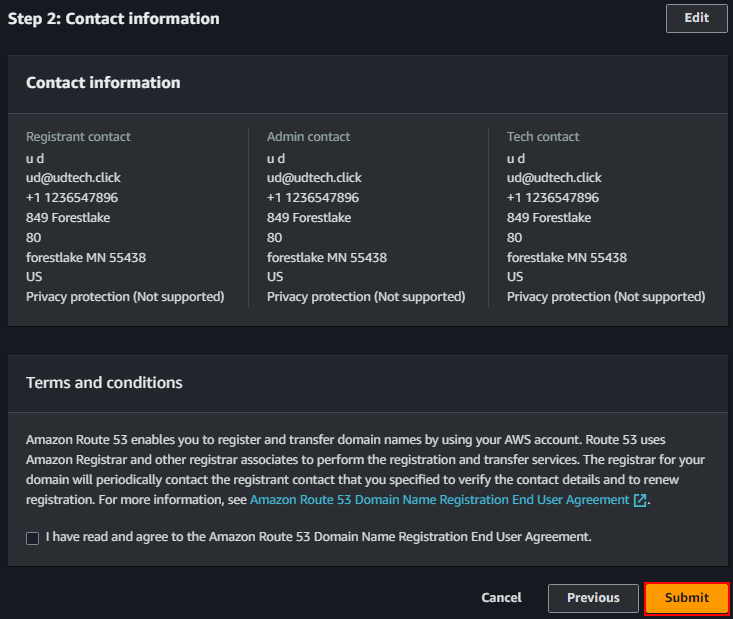
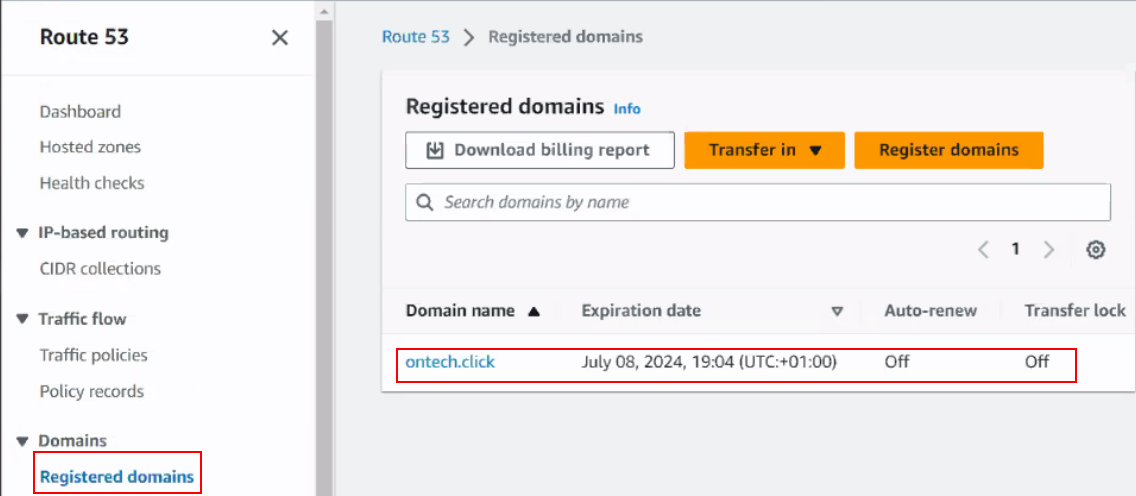
Steps 1: Route 53
-Get a domain Name -Search for route 53 -under domain > register domain

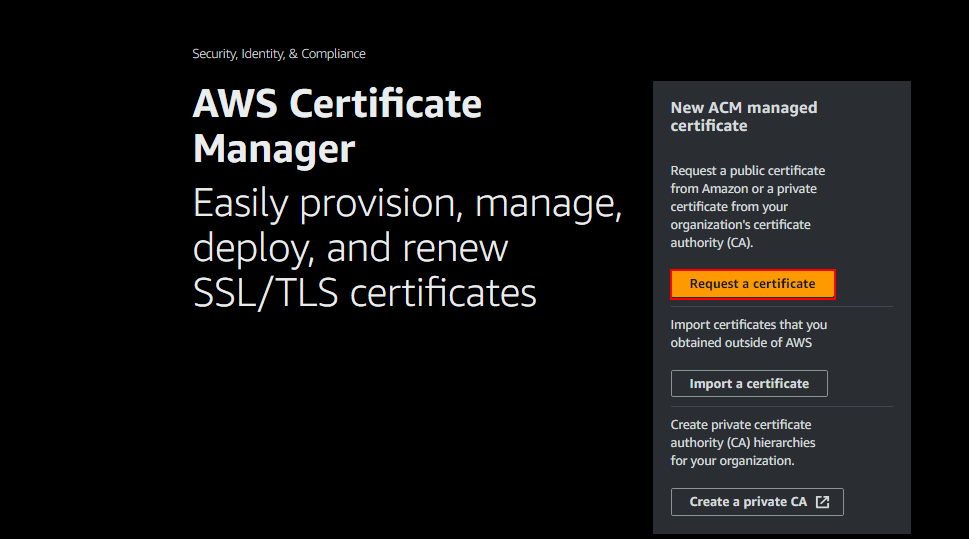
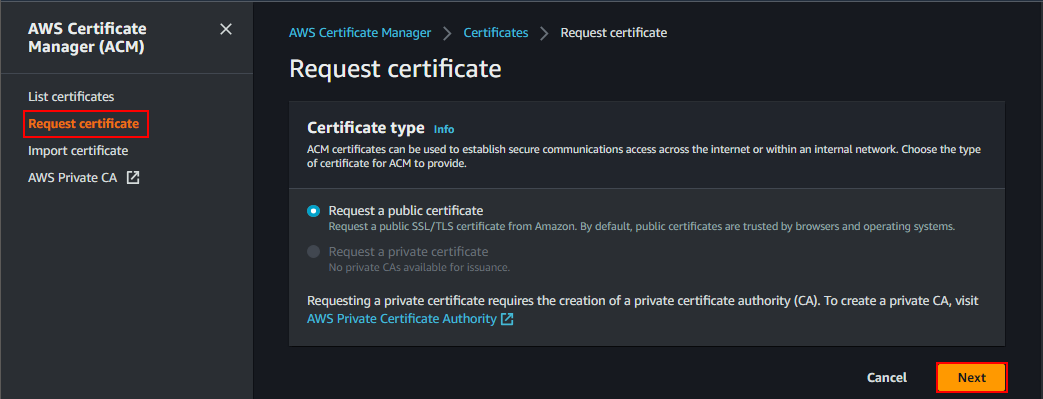
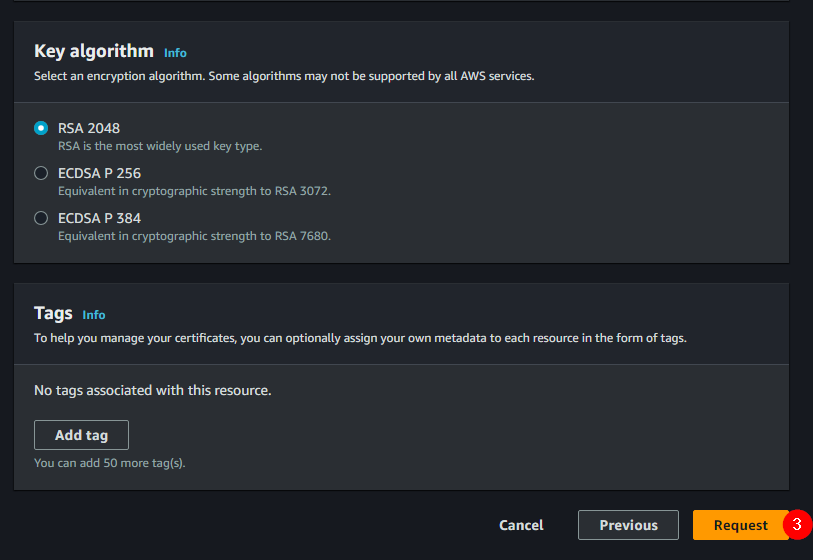
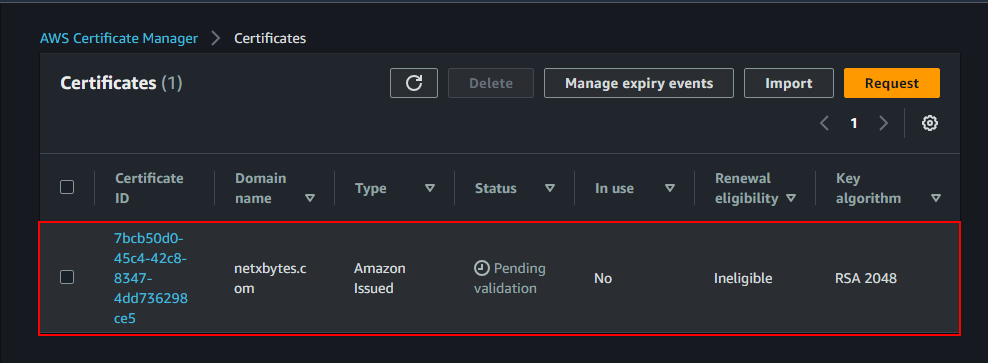
STEP 2: Request a Certificate
Adding SSL Certificate for Secure HTTP (HTTPS)
-Search for certificate manager
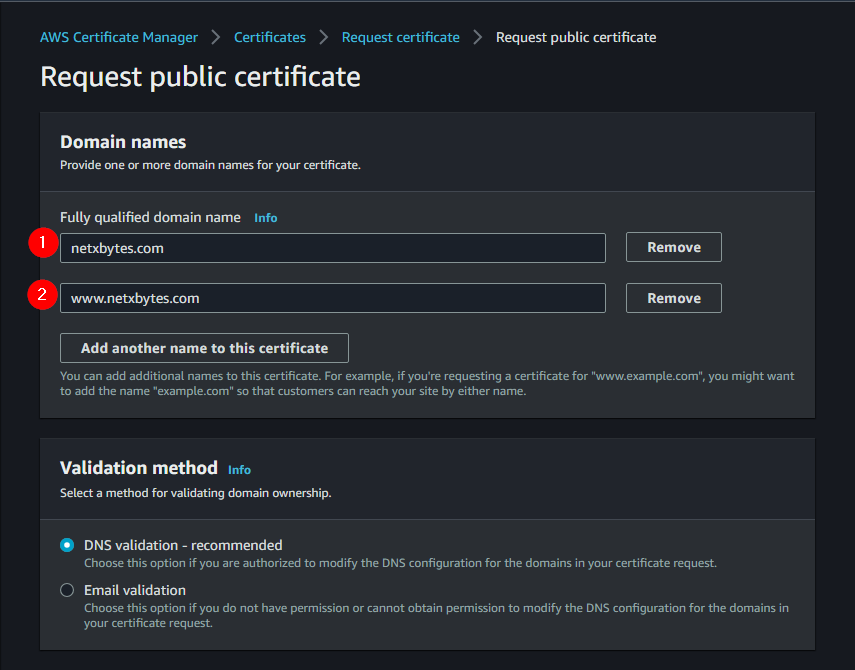
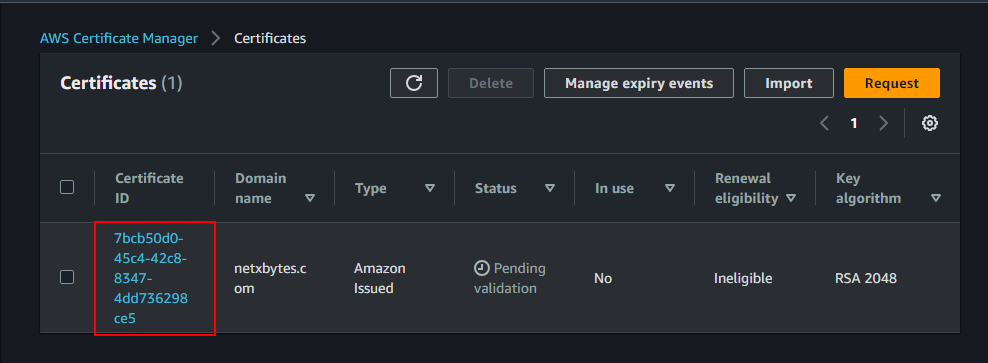
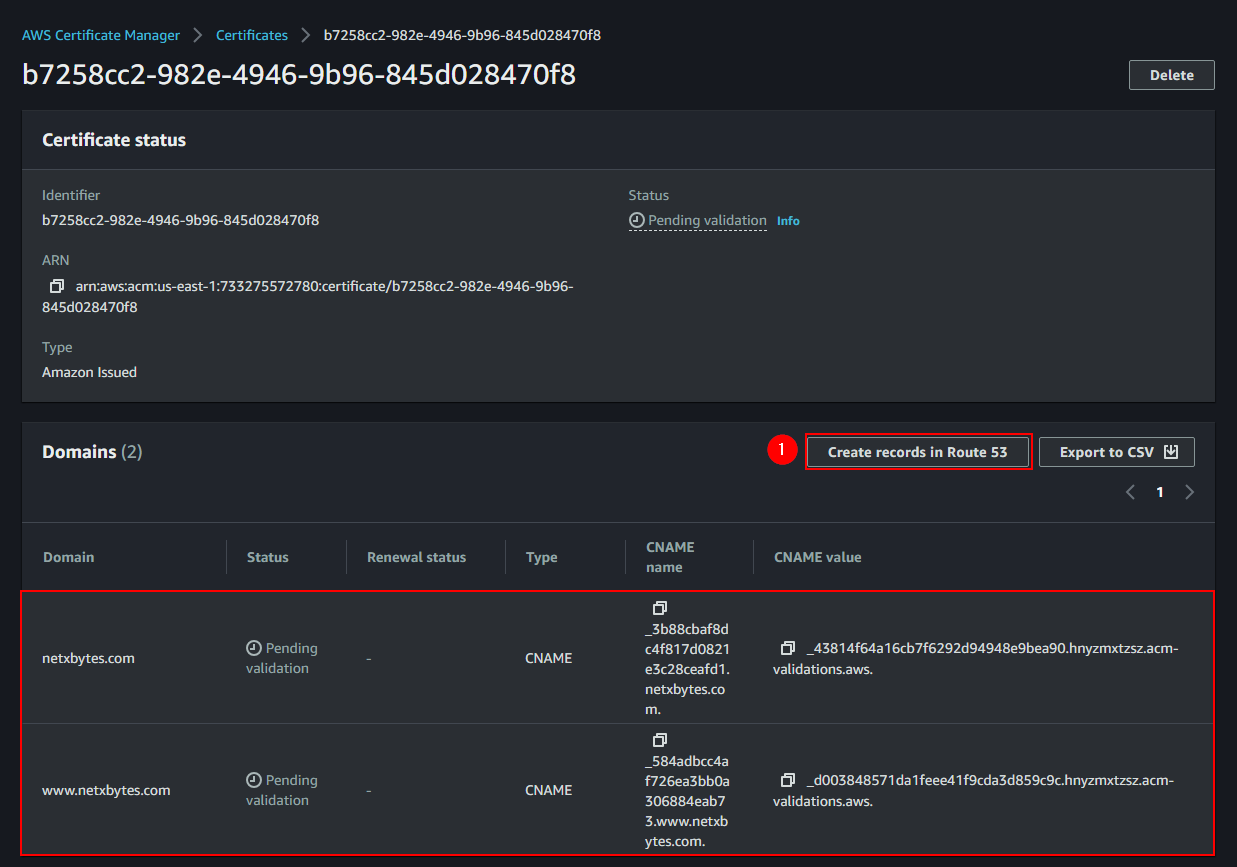
Create a CNAME record in Route 53
-there are two ways of doing this -Open the newly created certificate -create records in route 53 -that will create a CNAME in route 53 for both the domain and the subdomain
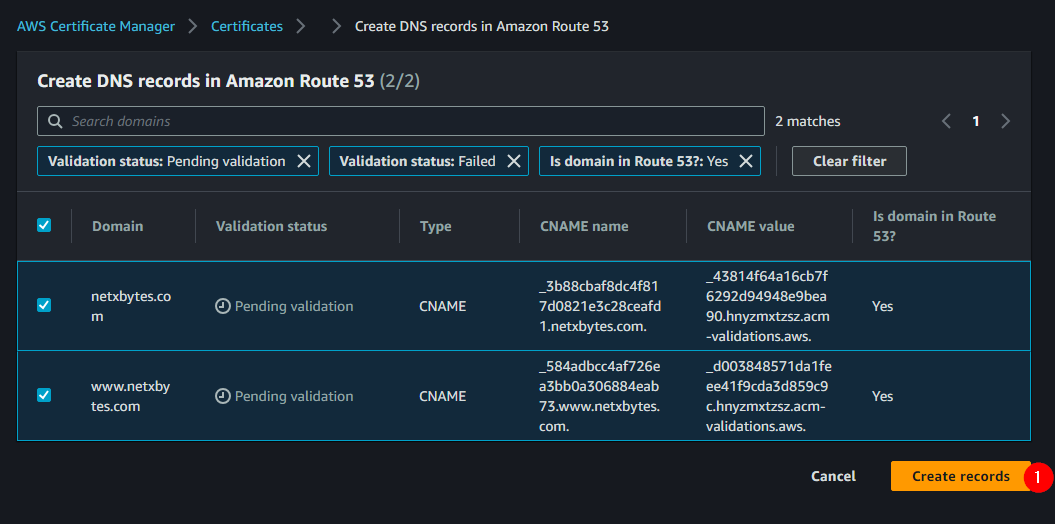
Verify that the CNAME was ADDED
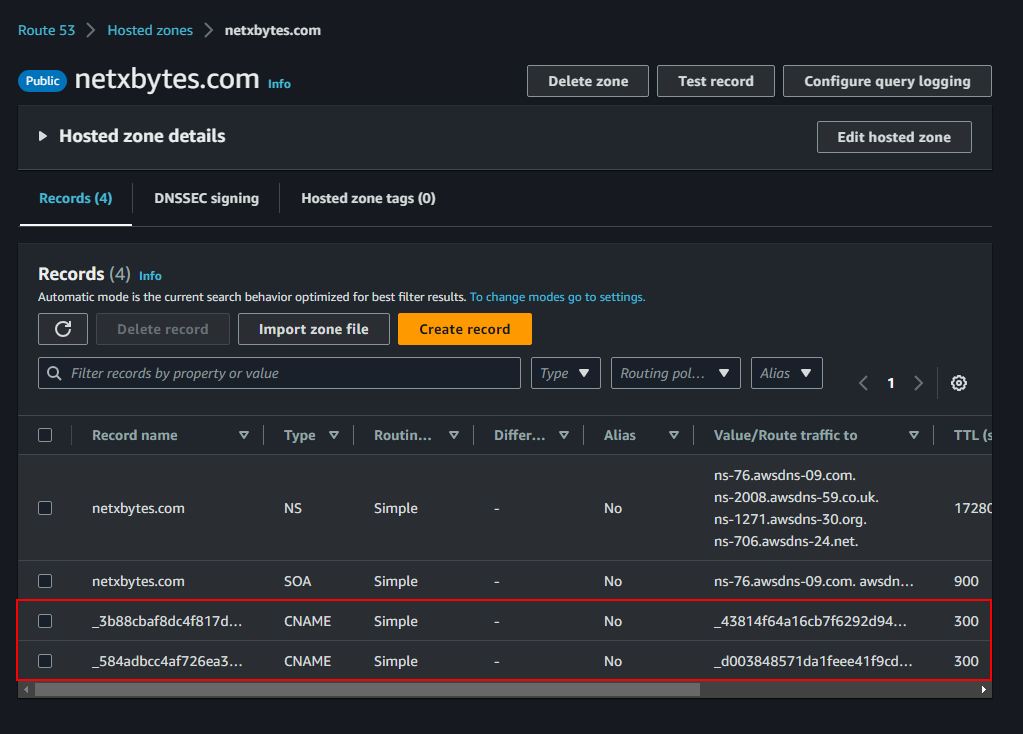
Note: we will come back to add A record after S3 has been created
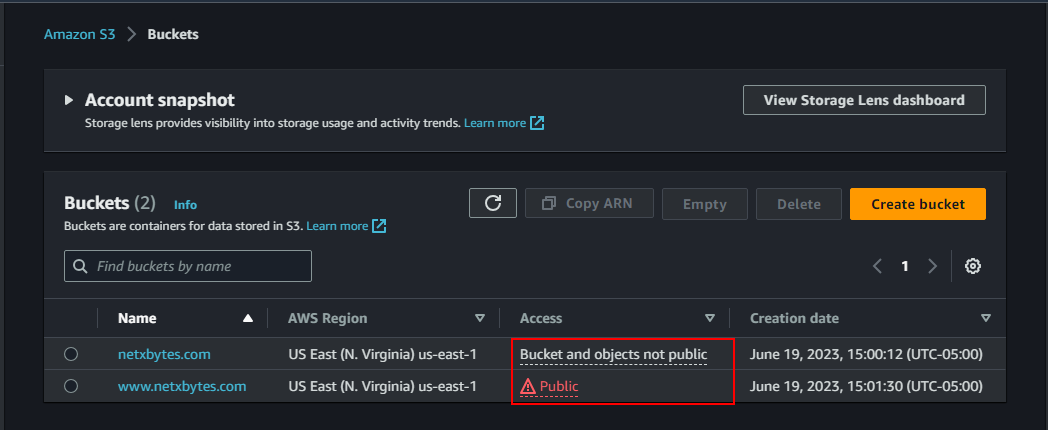
STEPS 3: Create S3 Bucket
Create two S3 buckets with Default settings
- netxbytes.com
- www.netxbytes.com
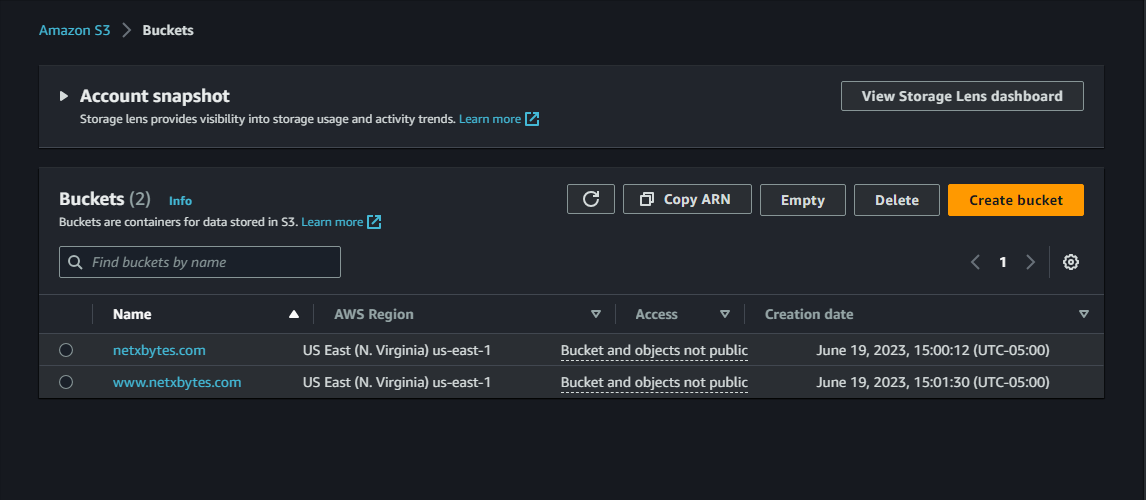
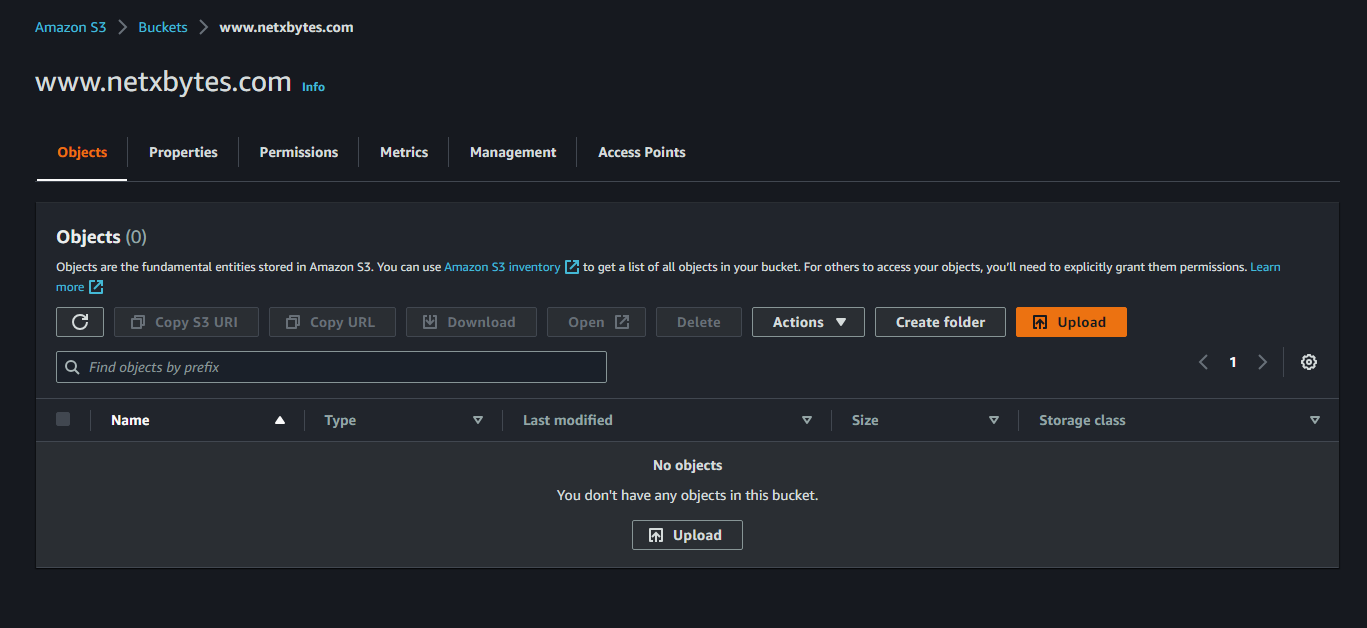
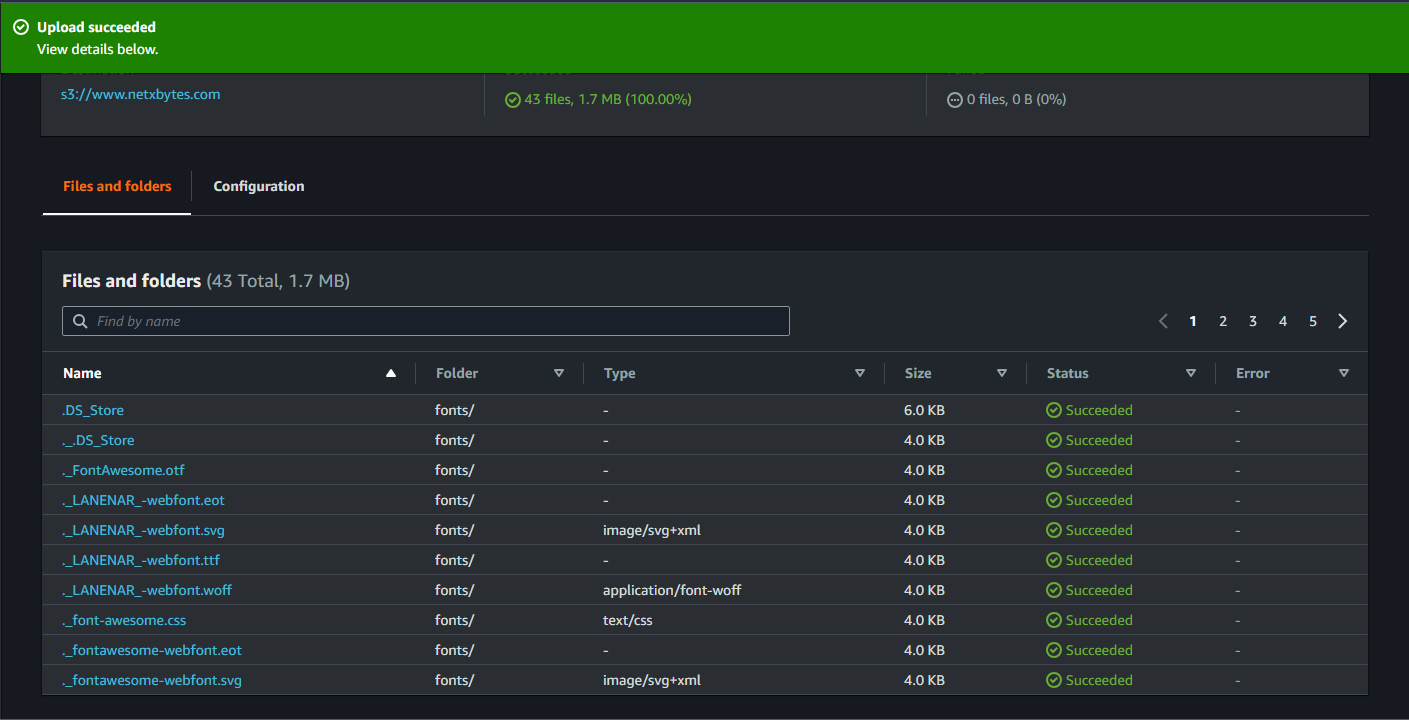
- upload the website details to the www.netxbytes.com
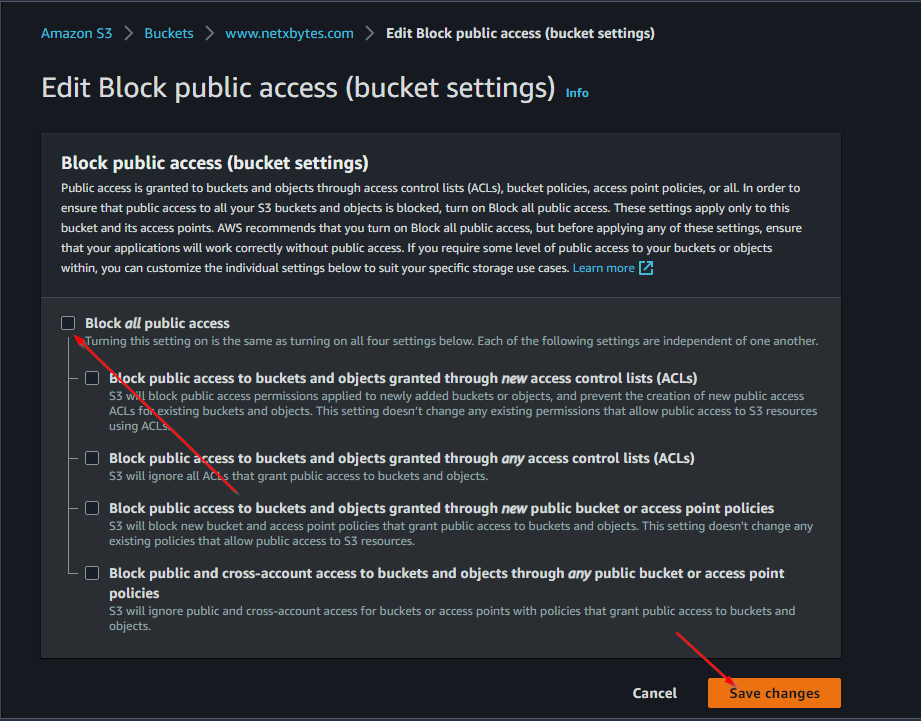
Enable Public Settings for www.netxbytes.com bucket
- Disable block public access
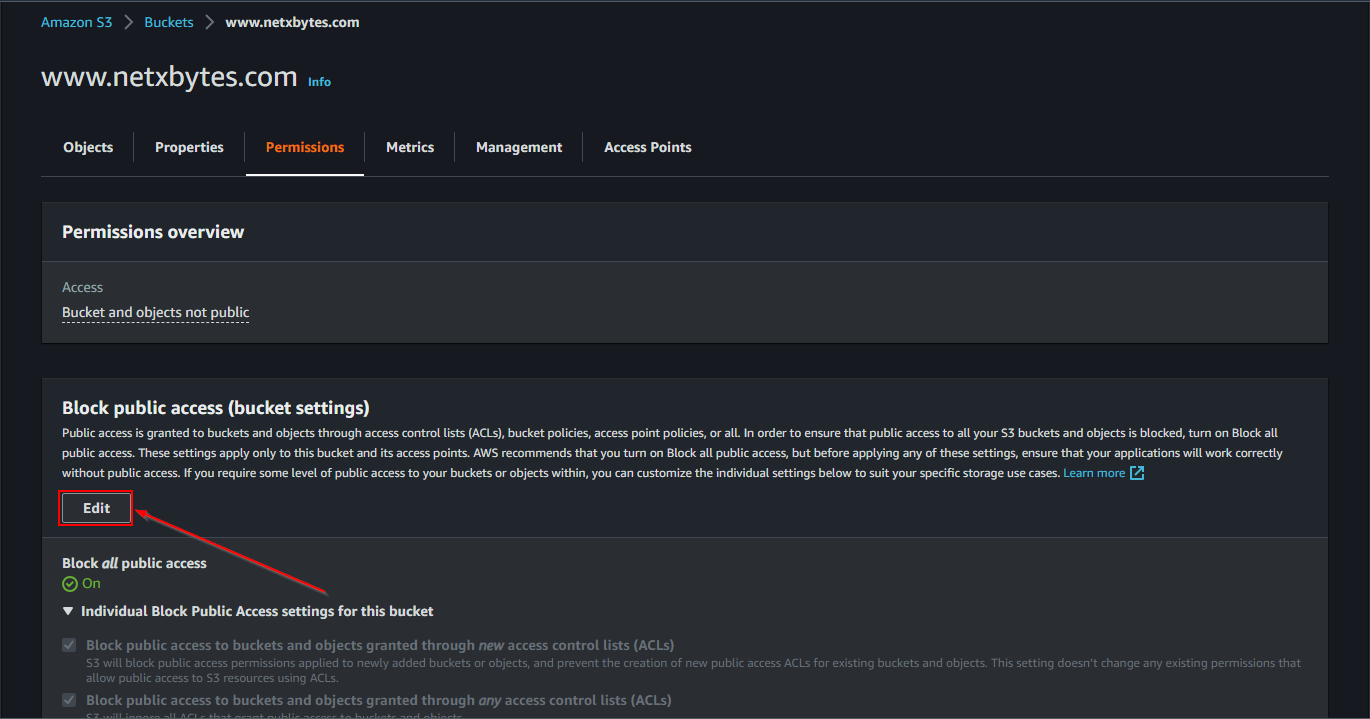
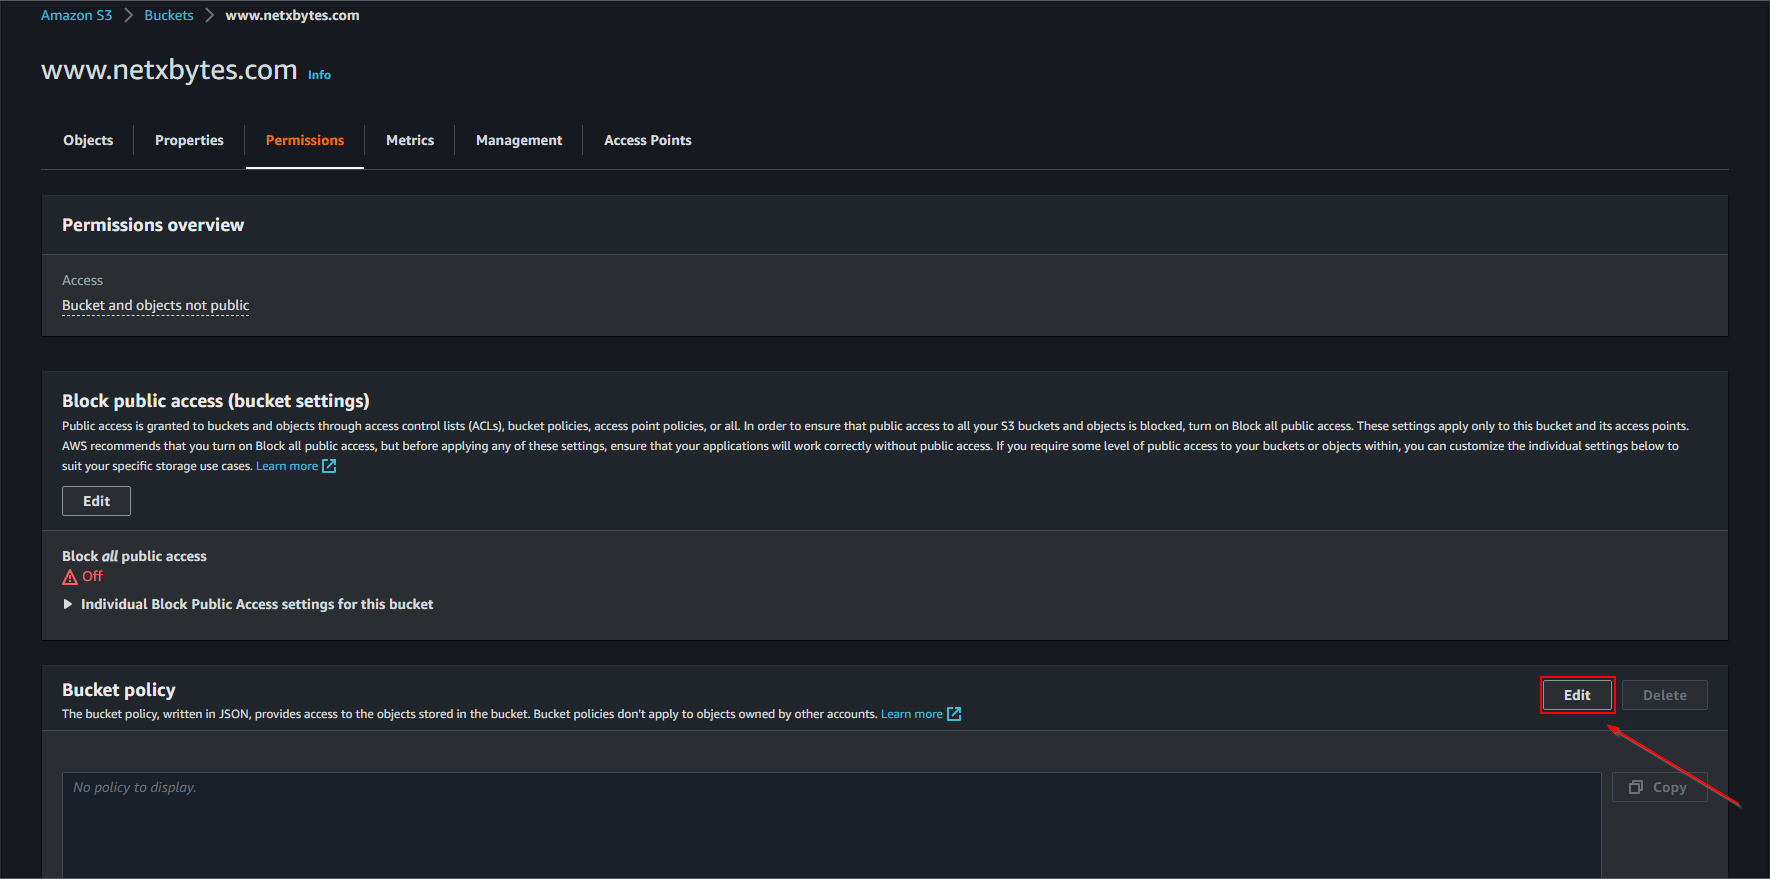
- Edith Bucket Policy
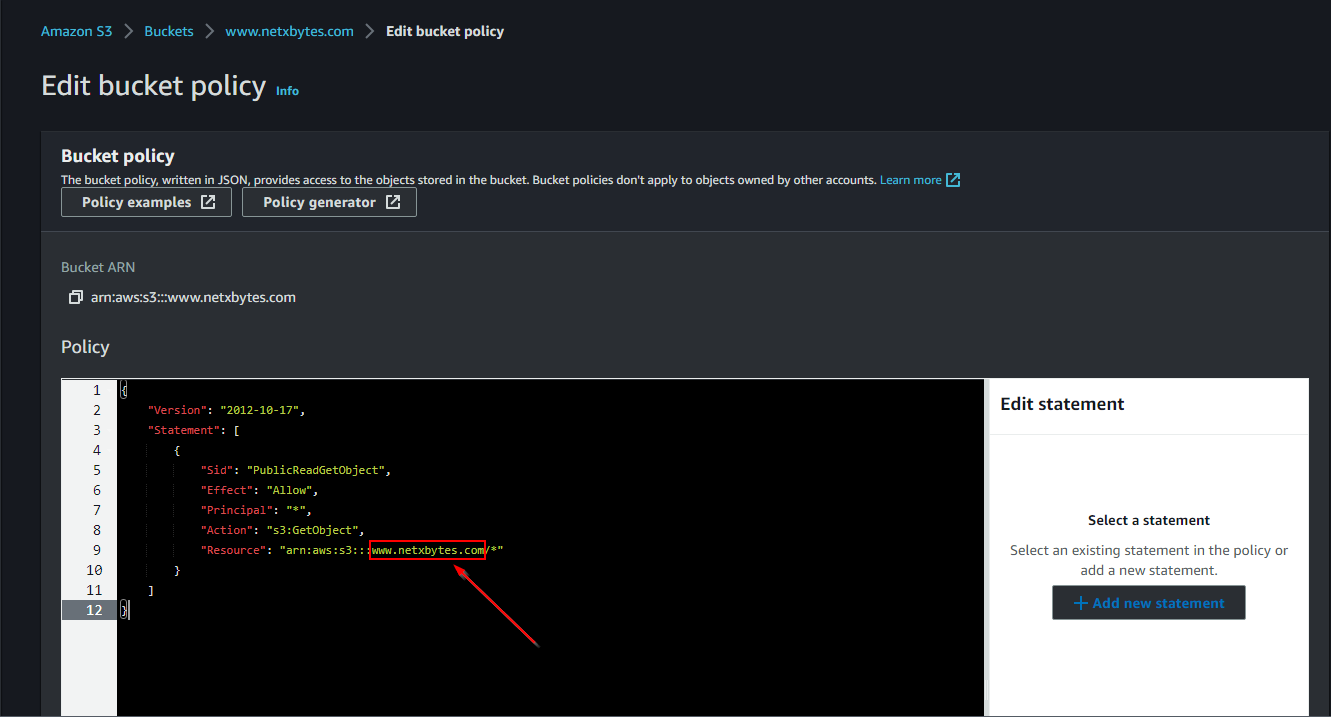
- Add the script and make sure to add the bucket name
{
  "Version":"2012-10-17",
  "Statement":[{
     "Sid":"PublicReadGetObject",
     "Effect":"Allow",
     "Principal": "*",
     "Action":["s3:GetObject"],
     "Resource":["arn:aws:s3:::example-bucket/*"]
  }]
}
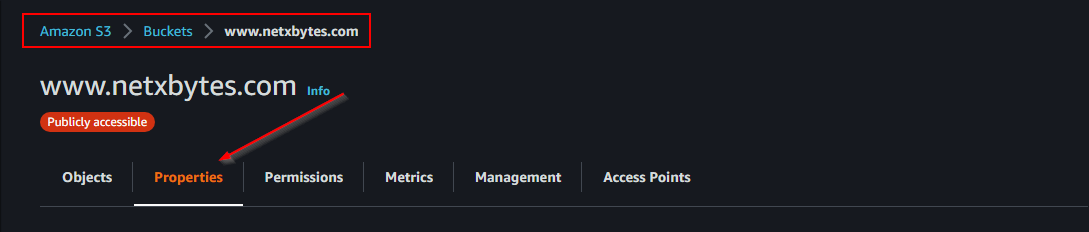
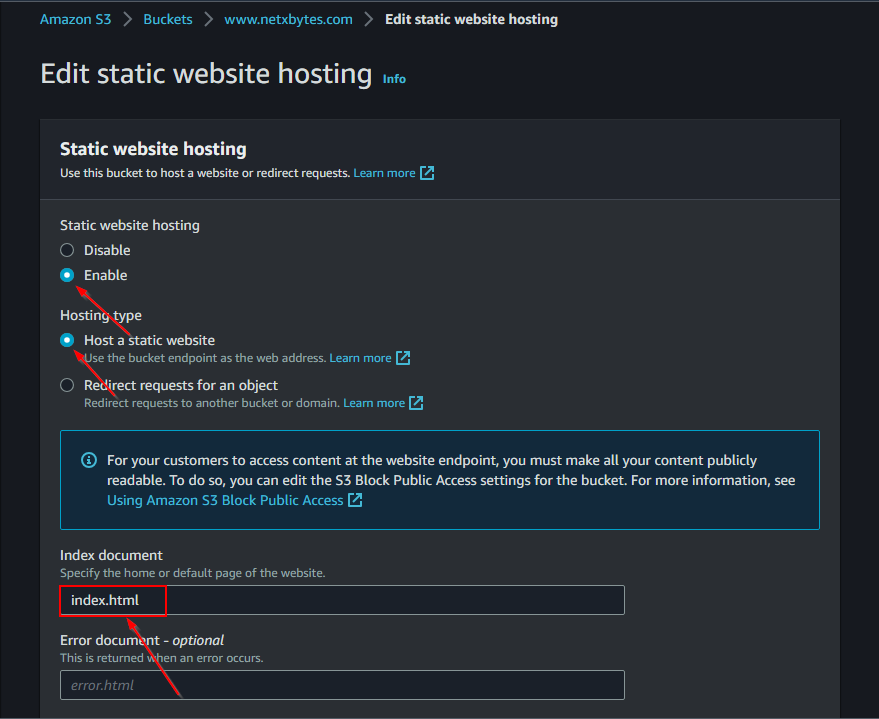
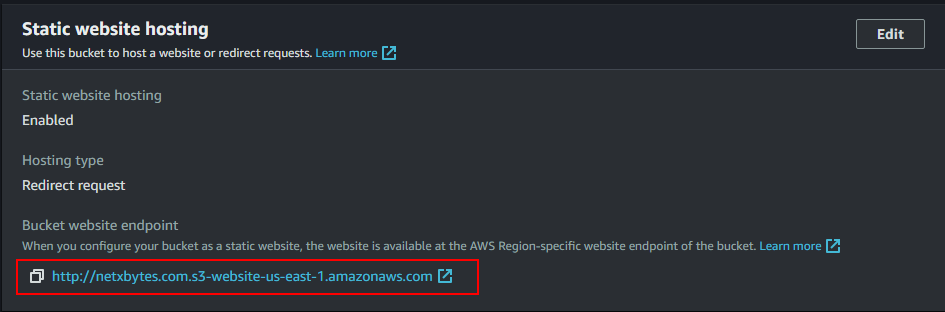
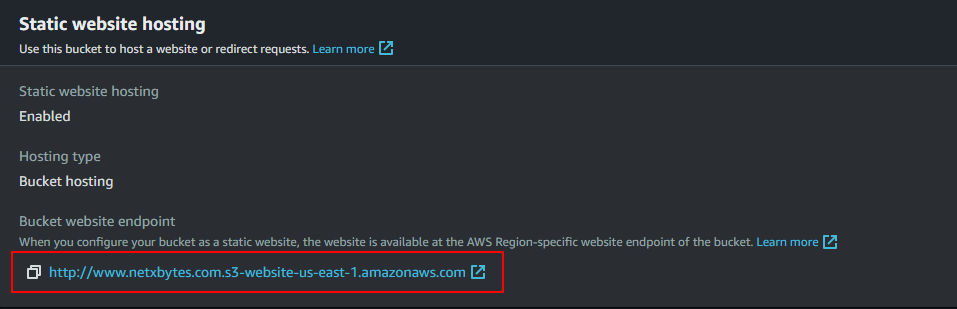
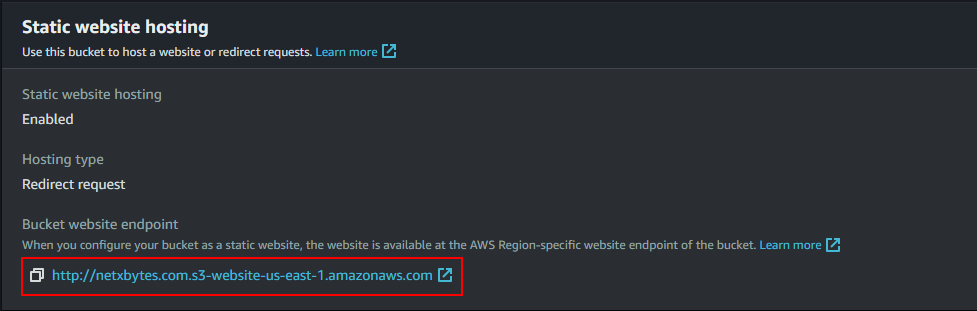
Enable static website hosting -Properties > Static Website hosting -Check Enable -Check Static website hosting

Note: if you got to the netxbytes.com it still will not work, -You need to add a redirect for it to work
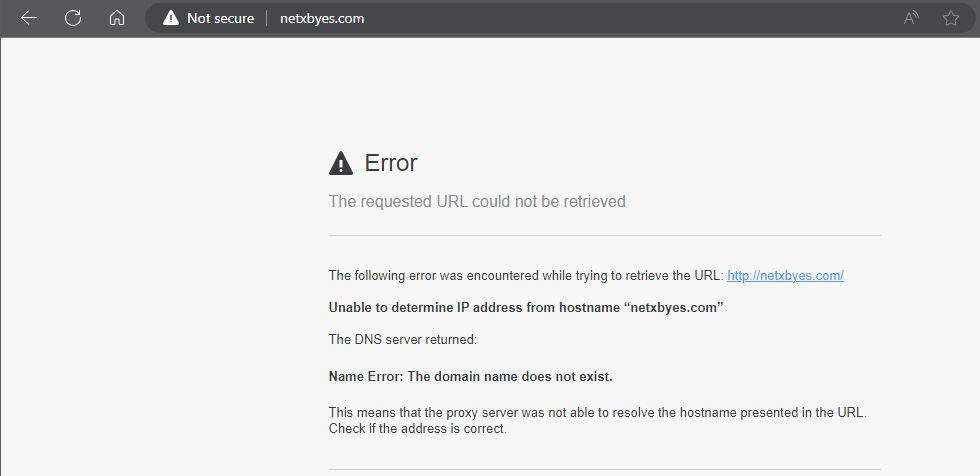
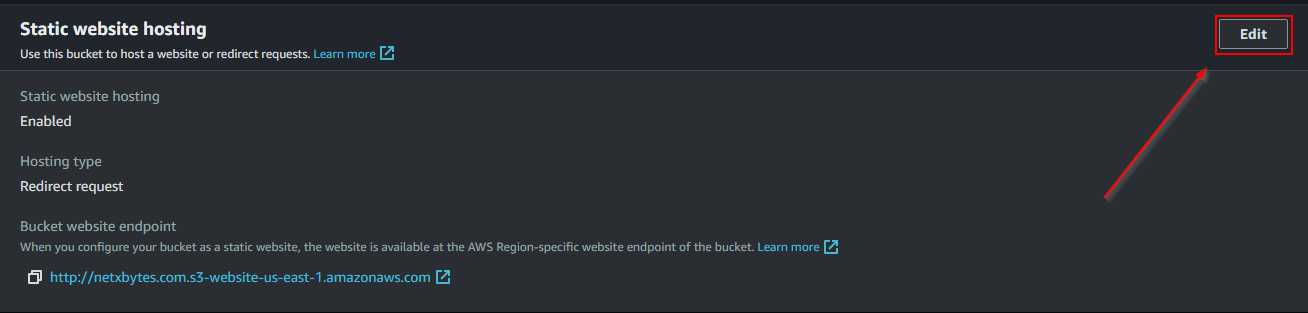
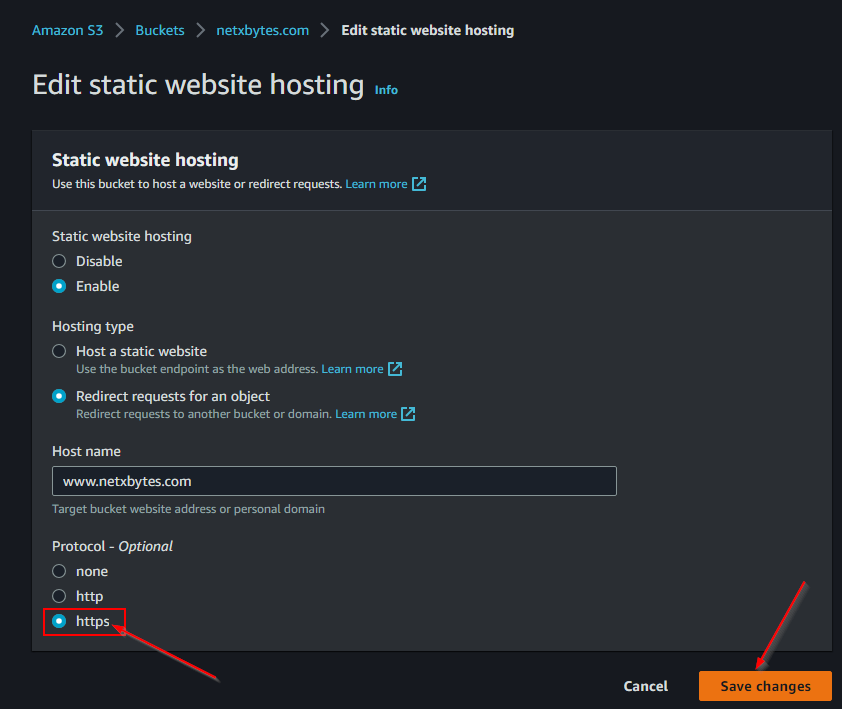
Add a redirect from the netxbytes.com to the www.netxbytes.com -Go to the netxbytes bucket -properties > static hosting
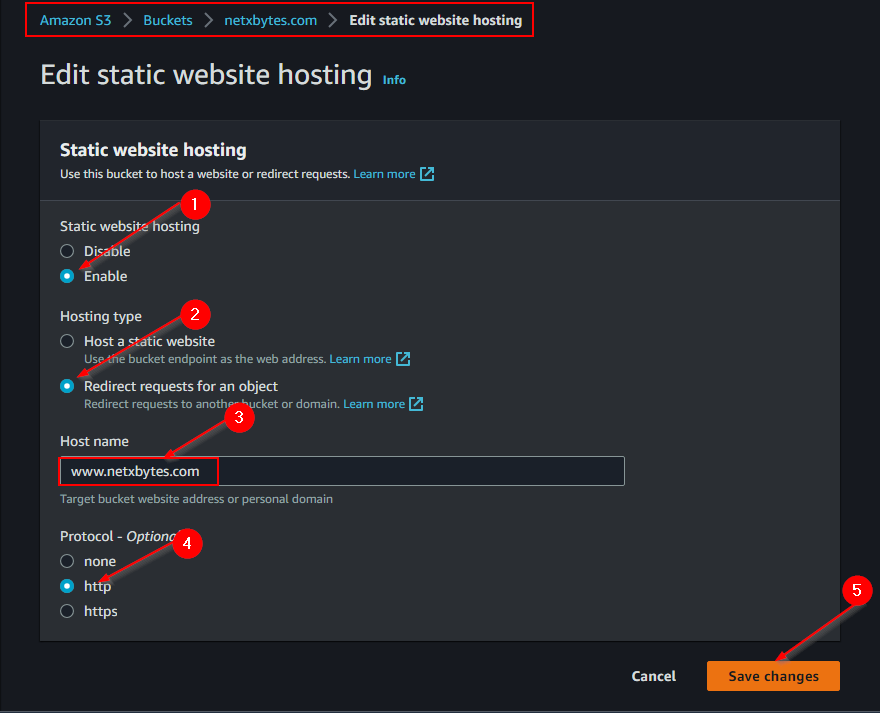
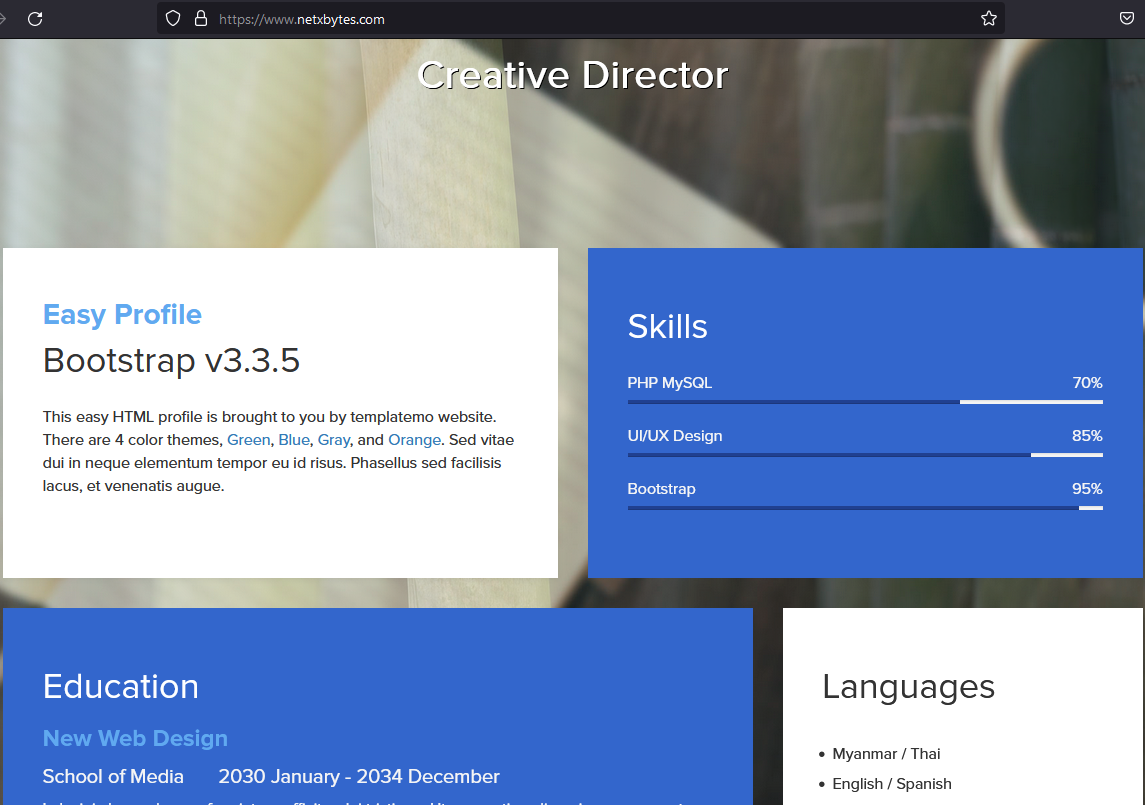
Final Product should be like this -Note: Your browser ma cache the url you you may a have to clear cache or user incognito or a different browser -Also i noticed the netxbytes bucket does not have to me made public for the redirect to work
Get the Url for netxbytes.com -It should redirect you to the www.netxbytes.com url
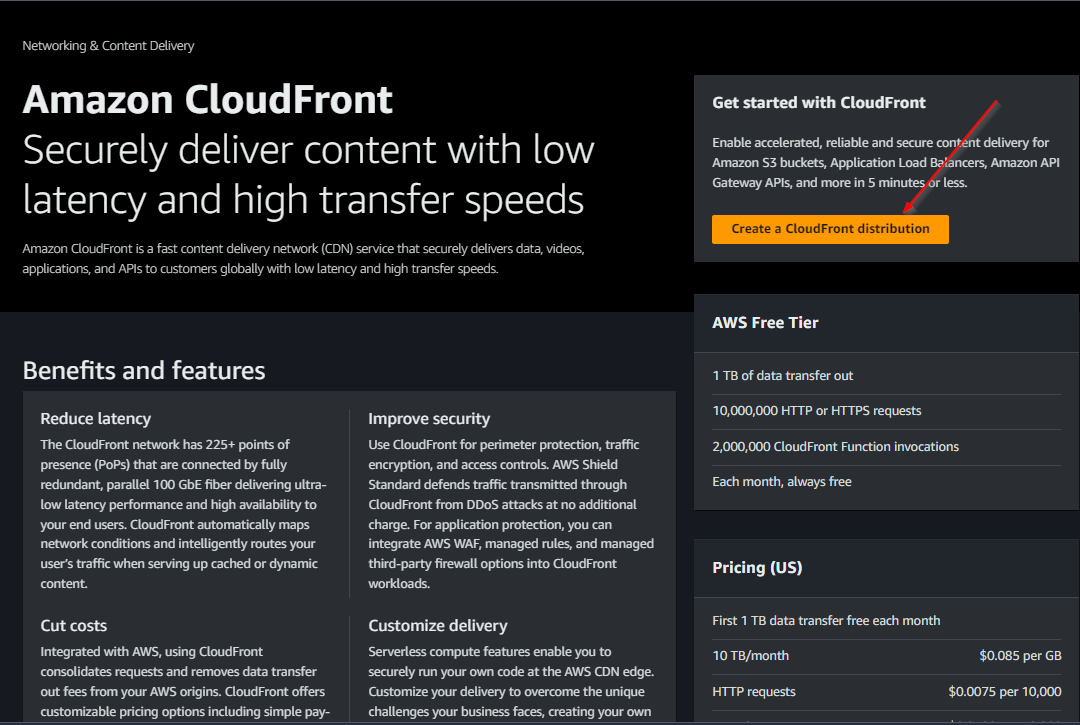
STEP 4: Create Cloud front distribution
AWS CloudFront is a content delivery network (CDN) It helps deliver content, such as web pages, images, videos, and APIs, to end users with low latency and high transfer speeds.
-Create distribution for the domain and the subdomain www.netxbytes.com and netxbytes.com
Note:

-this will enable HTTPS and Caching -Search for cloud front Click create cloud front distribution
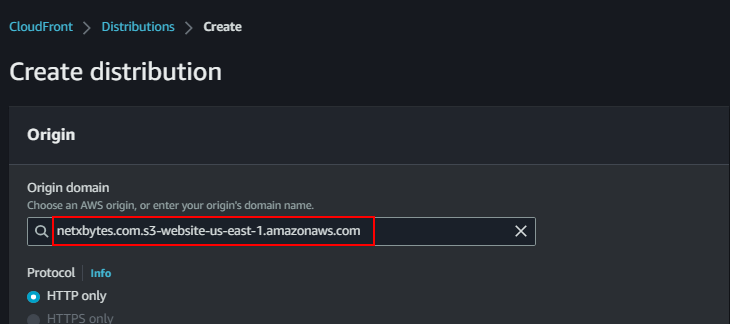
-The the correct endpoint url for both bucket from S3 bucket static site under properties
www.netxbytes.com.s3-website-us-east-1.amazonaws.com
Origin -Add Origin domain -http://www.netxbytes.com.s3-website-us-east-1.amazonaws.com
![[Pasted image 20230619224130.png]]
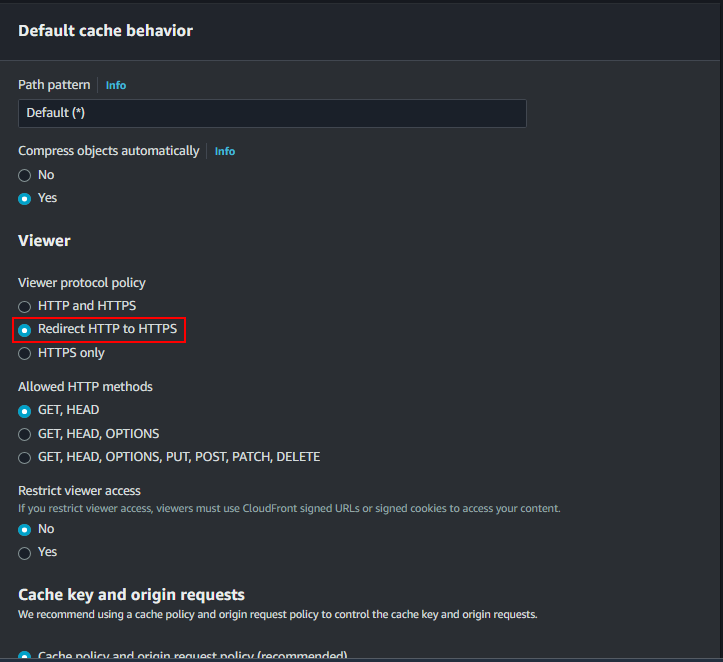
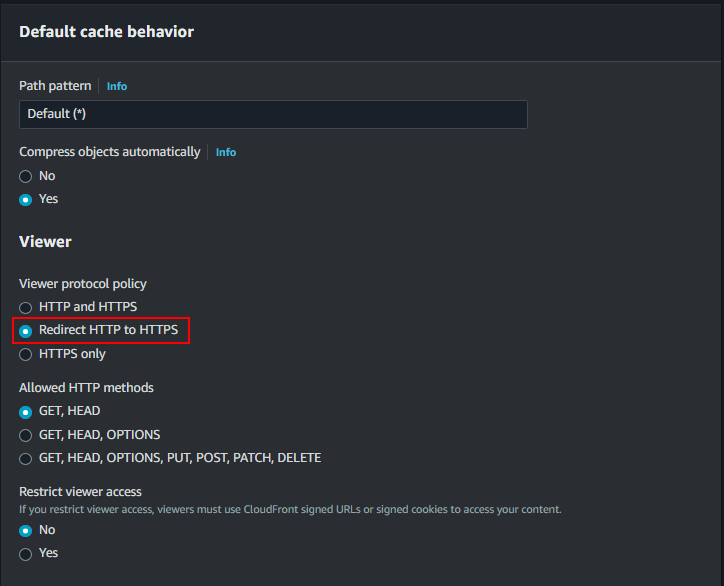
Default cache behavior -Select Redirect HTTP to HTTPS
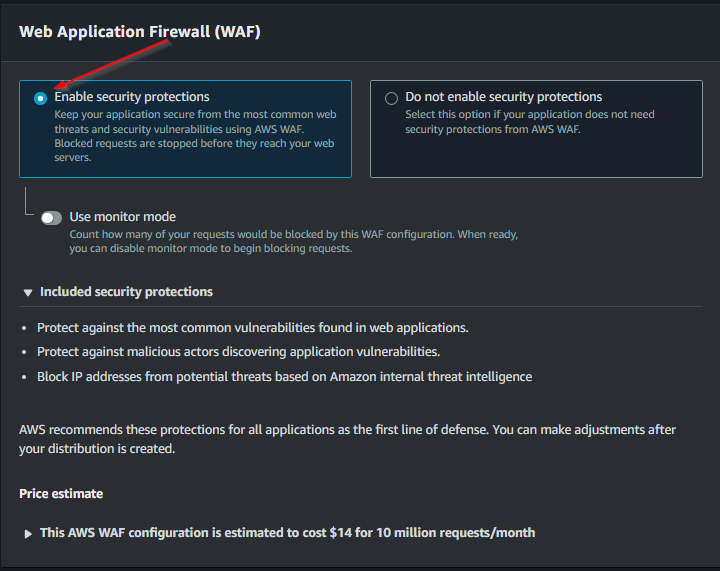
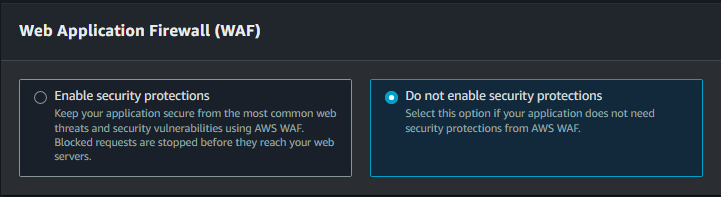
Web Application Firewall (WAF) -Select Enable security protections
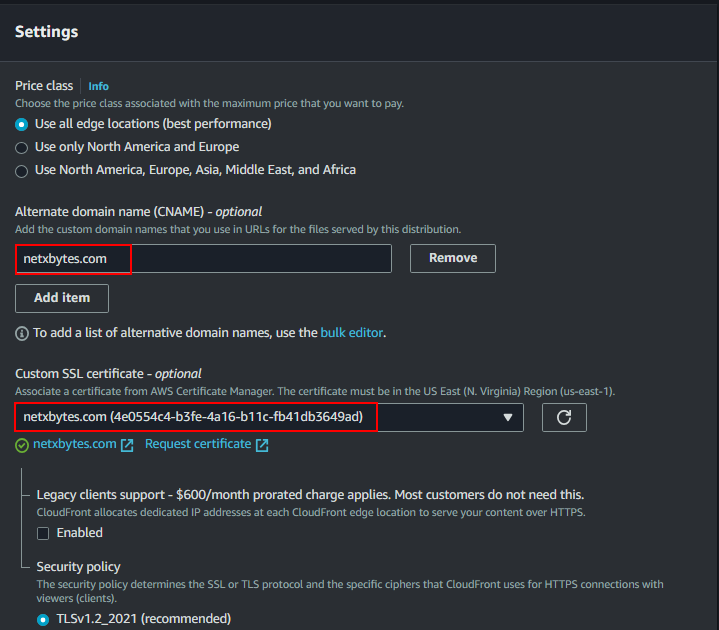
Setting -Alternate domain name (CNAME) - optional -add www.netxbytes.com -Custom SSL certificate - optional -Select netxbytes.com SSL
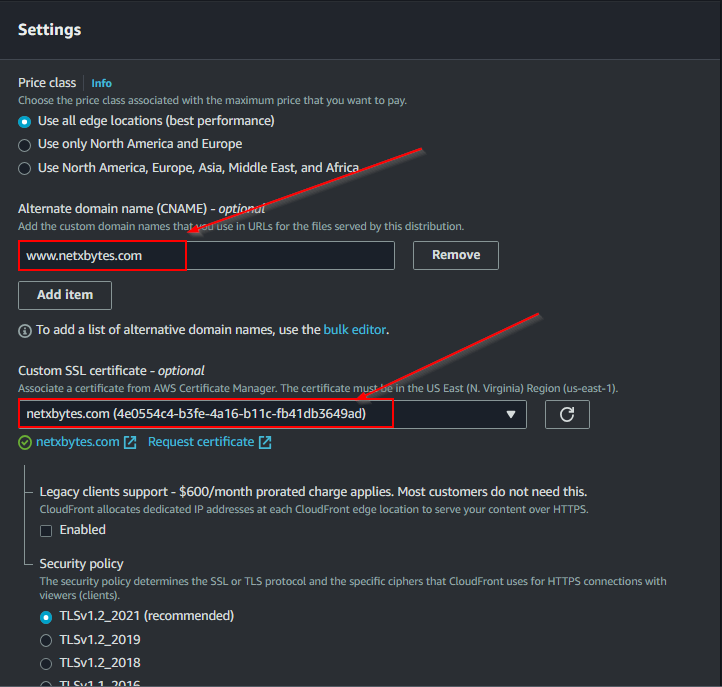
-Then Create Distribution at the bottom at the page
End Product

Do the same Steps for the netxbytes.com end point -User the website endpoint netxbytes.com.s3-website-us-east-1.amazonaws.com

-I will enable the WAF for production (I’m thinking since this is a redirect no need to add WAF ? I’m i wrong? )
-Then Create Distribution at the bottom at the page
End product Both of the endpoint will be distributed to cloud front Traffic that is dested for www.netxbytes.com -will be server through cloud front that is backed by the assets that are in S3

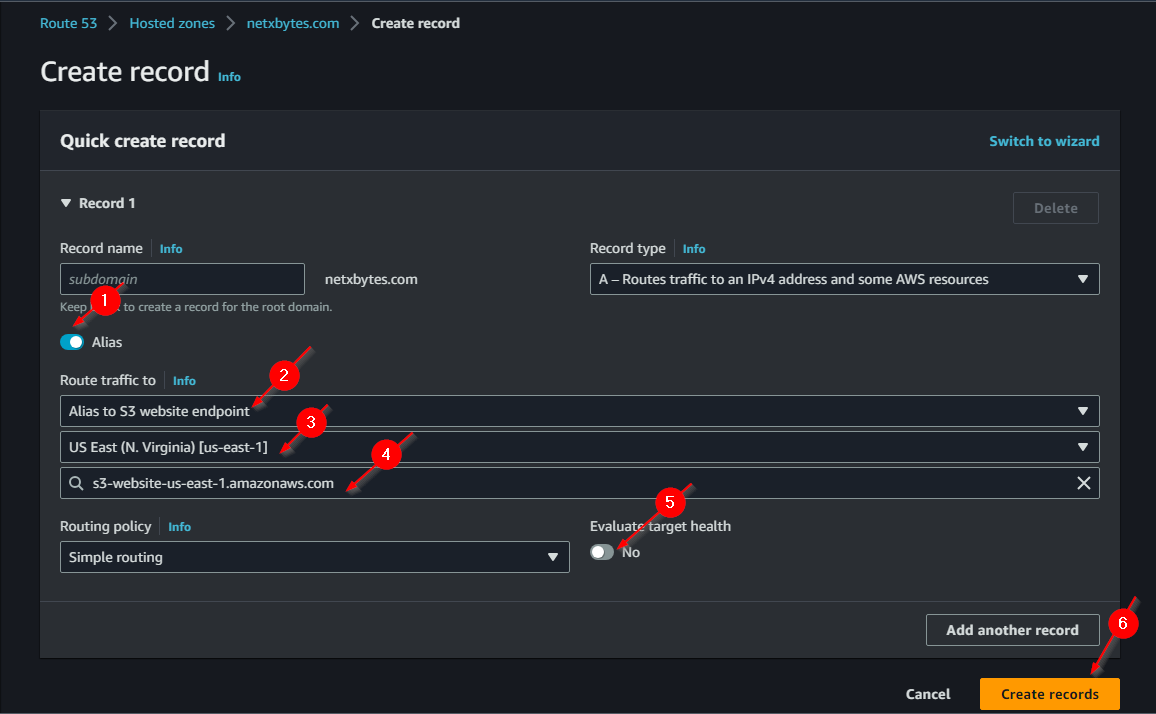
STEP 5: Add A record to route53
-Add A record for www.netxbytes.com and netxbytes.com
-Add a record -Create record
-Turn on Route traffic to Alias -Alias to S3 website end point -Set your current region -Then Add the endpoint (the S3 Bucket Url s3-website-us-east-1.amazonaws.com) -You can turn off evaluate target health -Then Create record
Add a sub Domain -Click on create record

STEPS 6: Enable HTTPS Redirect for the netxbytes.com
-Edith the static website hosting and change the protocol to HTTPS
STEP 7: Test
Check the Url now to see if its HTTPS